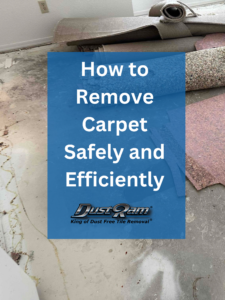

Hardwood flooring is a beautiful and timeless addition to any property. However, when it comes time to remove it, many homeowners are tempted to tackle the job themselves. While DIY hardwood floor removal might seem like a cost-effective option, it can be a complex and labor-intensive task that often leads to more problems than solutions. Nevertheless, we want to walk you through the step by step process to DIY and provide insight on when its time to hire dust free flooring removal experts.
When Should You Remove Hardwood Flooring
Before we get started, you must first know about the signs that indicate it’s time to remove your hardwood flooring for a safer and healthier home environment.
Water damage: Flooring with water damage cannot be simply stained over. Additionally, water damage can lead to mold or mildew growth, which negatively impacts your health.
Mold or mildew presence: Mold is harmful to your health, making it necessary to replace the entire flooring.
Exposed nails: Loose nails pose a risk to you, your family, and your pets.
Excessive wear and tear: While minor scratches are normal, extensive damage warrants a new floor.
Creaking or shifting hardwood: These signs suggest damaged boards and indicate the need for hardwood floor removal.
Frequent refinishing: Each refinishing process sands down the floor, leaving floorboards too thin and prone to damage if done excessively.
Uneven flooring: This issue may point to problems with the sub-flooring beneath. Remove the hardwood to inspect the sub-flooring and joists for potential issues before installing new hardwood.
Structural issues: Over time, houses may settle too far into the ground, causing structural problems that necessitate hardwood floor replacement and professional intervention to address other structural concerns.
If you encounter any of these issues, consider replacing your hardwood flooring. Although it requires an investment, addressing these problems can save you from more work and expenses in the long run.
Understanding the Hardwood Floor Removal Process
To further appreciate the complexities of hardwood floor removal, it’s essential to understand the step-by-step process involved:
1. Assessing the Hardwood Flooring:
Before removing the hardwood flooring, it’s crucial to assess its condition, the type of adhesive used, and the subfloor underneath. This information helps determine the best removal method and tools to use.
2. Preparing the Workspace:
Proper preparation is critical to protect the surrounding areas from damage and contain dust and debris. This may involve covering furniture, sealing off vents, and setting up a dust containment system.
3. Removing the Hardwood Flooring:
Depending on the type of hardwood flooring and adhesive used, various removal methods might be employed. These can include manual techniques (e.g., using pry bars and hammers) or using specialized tools such as walk-behind floor scrapers.
4. Cleaning Up Debris and Dust:
After the hardwood flooring is removed, the area must be thoroughly cleaned to remove any remaining debris and dust. This step can be particularly challenging for DIYers without access to professional-grade dust containment systems.
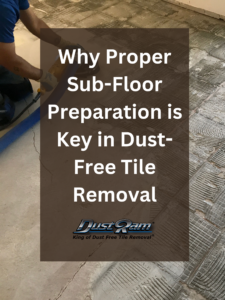
5. Preparing the Subfloor:
Once the area is clean, the subfloor must be prepared for the installation of new flooring. This may involve leveling the surface, repairing any damage, or removing adhesive residue.
Related Post: Buckling Hardwood Flooring: Causes, Prevention, and Repairs
What to Do: Step by Step
Equip yourself with the right tools, safety gear, and techniques for a successful hardwood floor removal project.
[Step 1: Gather Essential Tools and Safety Gear]
To ensure a smooth hardwood floor removal process, assemble the necessary tools and safety gear:
Tools:
-Measuring tape
-Hammer
-Pry bar
-Trim puller
-Circular saw
-Saw blade
-Sledgehammer
-Painter’s tool
-Multi-Max MM35
-Nail claw
-Locking pliers
-Vice grips
-Tarp
Safety Gear:
-Knee pads
-Work gloves
-Safety glasses
-Dust mask or N95 respirator
-Hearing protection
-Sturdy boots
[Step 2: Clear and Protect Furniture and Items]
Before starting, remove all furniture from the room. If you cannot remove everything or only need to remove a section of the floor, cover items to keep them clean. Use a tarp to protect surfaces from sawdust and debris, making cleanup easier later.
[Step 3: Define Your Project Scope]
Determine the extent of your project, whether removing the entire floor or just a portion. Break the project into manageable sections and mark them with tape to stay organized and avoid accidental removal of undesired areas.
[Step 4: Score and Remove Baseboards]
Score the baseboards along their full length where they meet the wall using a painter’s tool, box cutter, trim puller, or utility knife. This prevents paint or wallpaper tearing. Remove any nails or screws securing the baseboards or moldings with a pry bar or crowbar. Then, gently pry the baseboards from the wall every 8-10 inches.
[Step 5: Cut Flooring into Sections]
If reusing the wood, avoid cutting it into small sections. For those not reusing the materials, use a circular saw to cut a small, marked section after removing baseboards. Ensure the saw blade is deep enough to cut the floorboards without damaging the subfloor. Cut the sheets into 3-foot sections in a perpendicular direction to the wood panels, making it easier for the saw to slide without hitting nails.
[Step 6: Lift the Sections]
Carefully use a pry bar to lift each section of wood sheets. For wood reuse, gradually raise the sheets while moving the pry bar to prevent cracking. If not reusing the wood, apply force as necessary to lift the sections, keeping in mind that this may cause splitting.
[Step 7: Remove Nails and Staples]
After lifting all wood sheets, remove the nails and staples holding them in place. This step can be tedious, but essential for a clean removal. Use a nail claw and hammer or sledgehammer to pull out each nail and staple. A large magnet can help collect loose materials during cleanup.
[Step 8: Complete the Cleanup Process]
Clean up sawdust and debris, even if you used a tarp to cover items. Vacuum the entire floor to create a clean workspace for the new flooring installation.
Congratulations on successfully removing your hardwood flooring! With the old floor gone, it’s time to consider new flooring options, such as reclaimed wood, to give your home a fresh look.
The Challenges of DIY Hardwood Floor Removal
– Time-Consuming:
Removing hardwood flooring on your own can be an incredibly time-consuming process, especially if you have limited experience. What might take a professional team only a day or two can easily turn into a week-long project for a DIYer.
– Inadequate Tools:
Most homeowners do not have access to the specialized tools required for efficient hardwood floor removal. Using improper tools can lead to frustration, longer removal times, and potential damage to your subfloor.
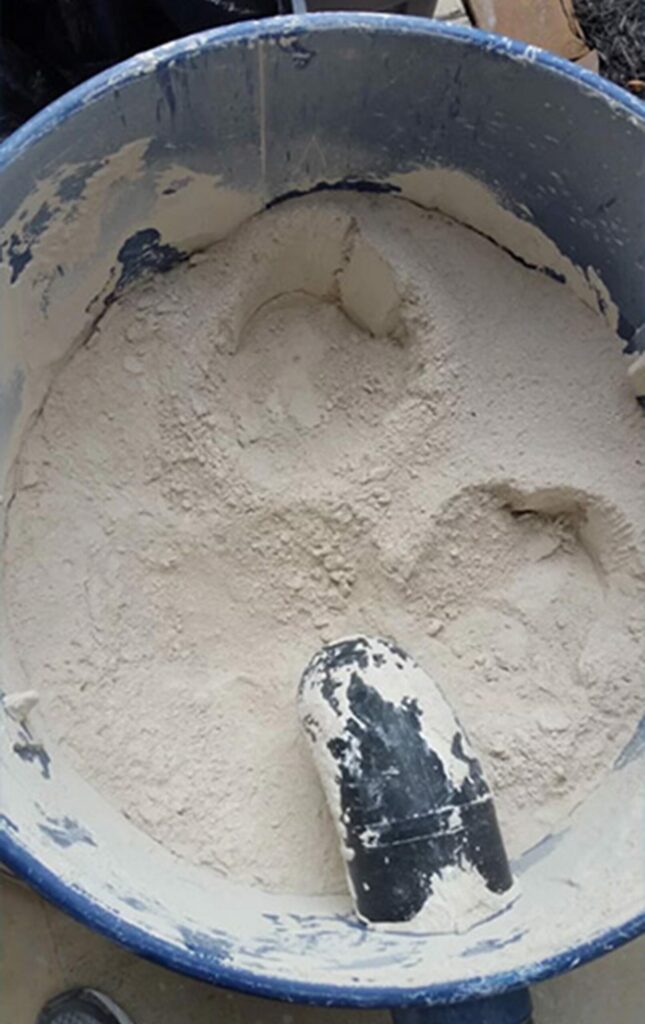
– Dust and Debris:
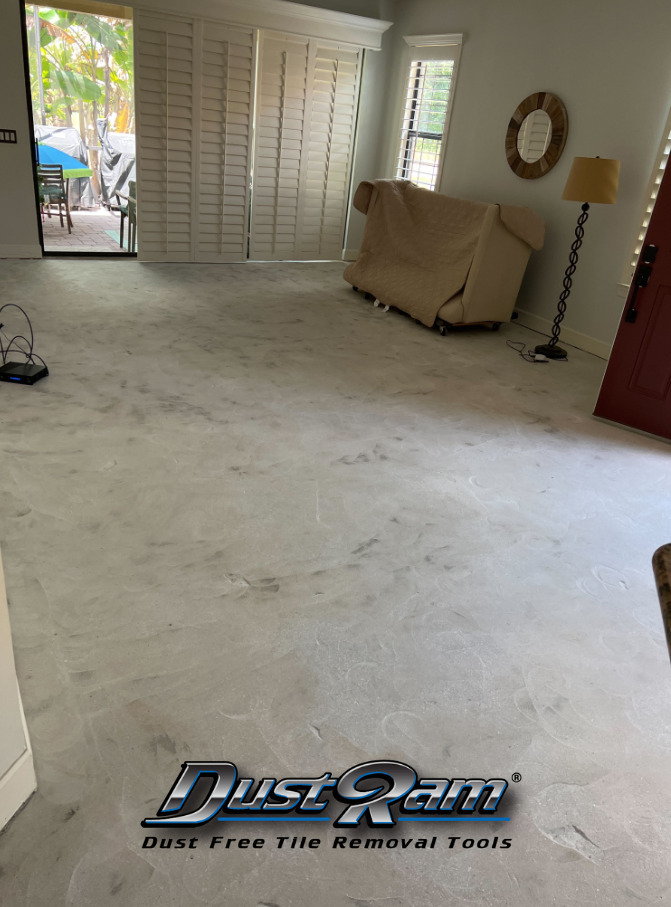
One of the most significant challenges with DIY hardwood floor removal is managing the copious amounts of dust and debris generated. Without proper dust containment systems, airborne particles will spread throughout your property, posing health risks and creating a mess that requires extensive cleanup.
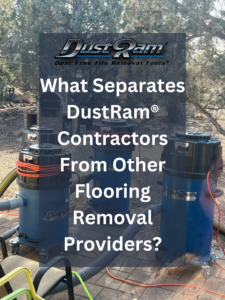
Between professional cleanings and health costs from crystalline, silica dust exposure, your overall costs of DIY end up costing you more! Let DustRam® the inventor of dust-free flooring removal do the job for you! Find a DustRam® contractor near your city and get a free estimate.
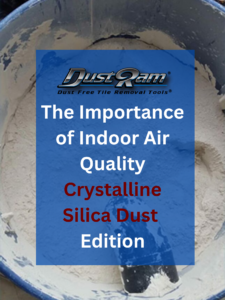
Learn more about crystalline silica dust and why it’s so extremely dangerous.
– Risk of Damage:
Inexperienced DIYers run the risk of damaging their subfloor or surrounding areas during the removal process. This can lead to costly repairs and even more time spent on the project. DustRam® leaves your subfloor smoother and flatter and better prepared for the new floor installation. We grind down the thin-set, glue, and adhesive, down to the slab and give scarification for significantly better floor bonding.
-Disposal Issues:
Disposing of waste materials after a DIY hardwood floor removal can be problematic. Many municipalities have strict regulations regarding waste disposal, and improper handling can result in fines or other penalties.
https://www.dustram.com/blog/indoor-air-quality/
Let DustRam® Do It: DIY vs. DustRam® Services

To further illustrate the advantages of choosing DustRam® for your hardwood floor removal needs, let’s compare the process with a typical DIY approach:
Time:
DIY removal can take several days or even weeks to complete, while DustRam®’s professional services can complete the project in a fraction of the time.
Tools:
DIYers often lack the specialized tools needed for efficient removal, whereas DustRam® has access to advanced equipment designed for the job.
Dust Management:
DIY removal can generate a significant amount of dust, which can be difficult to manage without proper containment systems. DustRam®’s system ensures a dust-free environment.
Damage Prevention:
DIY removal carries a higher risk of damage to the subfloor and surrounding areas. DustRam® technicians utilize their expertise to avoid such issues.
Disposal:
DIY waste disposal can be challenging and potentially violate local regulations, while DustRam® ensures responsible and compliant disposal practices.
For more related content, be sure to check out the dust free flooring removal blog. You can also learn more about our process, +26 times patented equipment, and our payment options.