How to Prepare Your Subfloor For Tile Installation
Interested in learning more on how to properly prepare your floor for tile installation without exposing your home or loved ones to harmful particles? Follow along with DustRam®
Do you feel it is time to remove damaged or old tile flooring in your home? You might not know where to start or even how to ensure that you are removing the floor properly. DustRam® is here to provide you with the inside scoop that may end up saving you a ton of money in the long run by following this simple guide.
First, it’s important to remember that tile flooring removal can not only be messy but can also be time-consuming and harmful to your health. Without proper tools, training, and care, you may destroy the subfloor, the surrounding walls, or even your health. Our goal is to ensure that your tile removal project is done expertly the first time.
Consider a Dustless Tile Removal
Dust Free Flooring Removal Leaves Your Subfloor Better Prepared For The Installation of Your New Floor – Call DustRam® For More Info
Generally speaking, numerous factors contribute to the massive mess that tile flooring removal will create. If traditional tile removal techniques are applied, dust settles in every place that the air can touch. Aside from affecting the specific room that the removal project is in, it penetrates the home’s ventilation. After the dust particles become airborne, they usually recirculate via the entire home’s HVAC settling onto all surfaces it can find.
These pesky dust particles tend to fall on clothes, linens, furniture, cabinets, pantries, carpet, and so much more. It is not enough just to vacuum and clean after the tile removal is finished. Dust tends to settle deep within the fibers of all kinds of materials, which makes it extremely time-consuming and hard to remove. Contracting a professional cleaning company to deal with that mess is costly and taking care of it yourself would be time-consuming and frustrating because it’s difficult to completely remove all of the dust that pervaded your home. It takes several cleaning sessions to remove the dust and even so, the dust will still be present in some capacity.
Can I Remove the Tile Flooring Myself or Do I Need Professional Assistance?
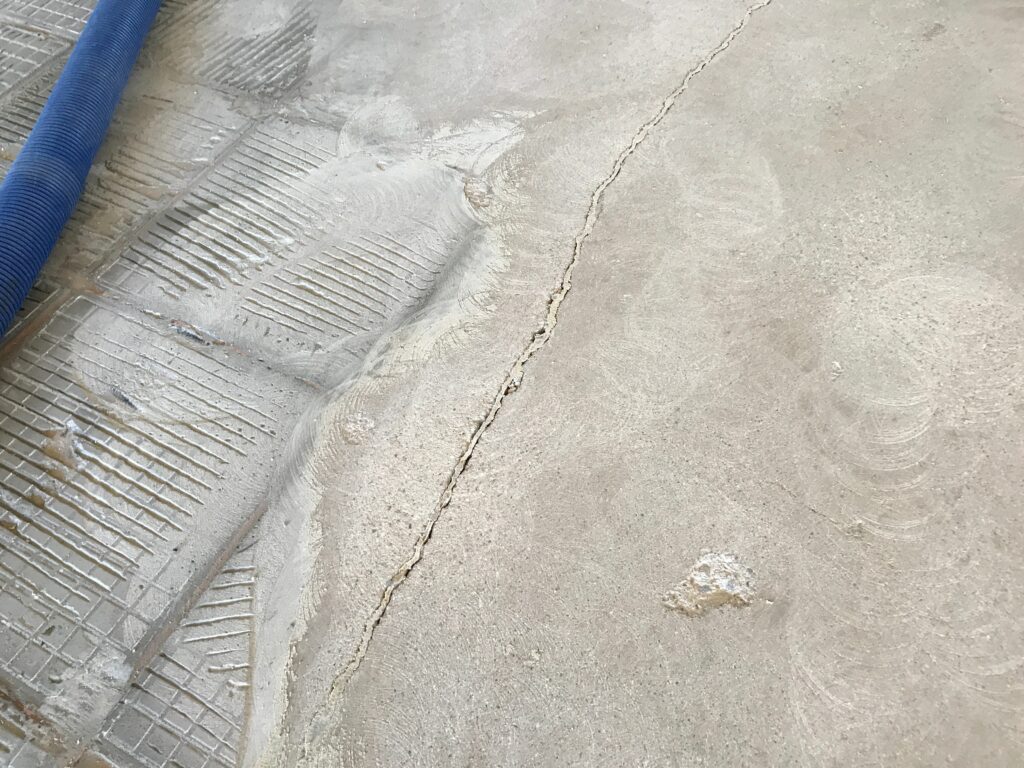
This is what you want the concrete to look like so that it is even, flatter, smoother, and better prepared for the flooring installation
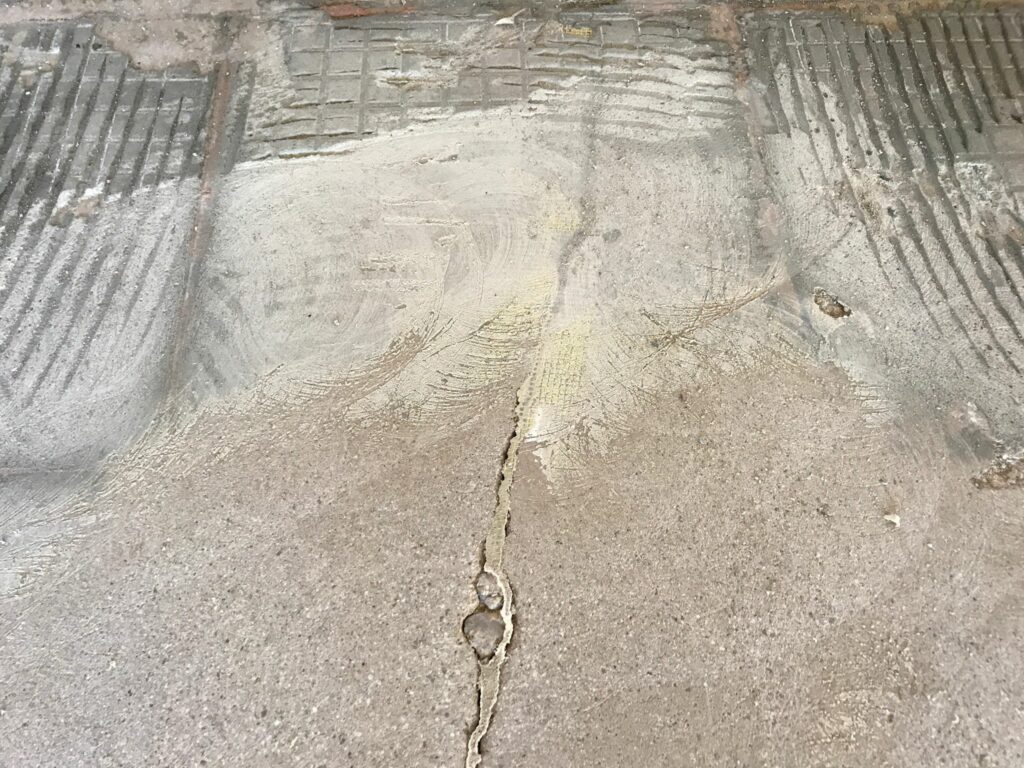
You can see the grinding of the thinset and the difference before and after. The scarification is key to better adhesion of the new floor
It is without a doubt tedious work and rather difficult without the proper tools and equipment. DIY will certainly save you money that you would have used on hiring an expert but it is far better to pay for convenience and for top-quality services. If you choose the DIY approach, you will need the necessary tools to perform a proper tile removal without potentially destroying the subfloor. Are you feeling that you’re ready for a DIY project? Here is what you need to know before making the decision on a DIY or professional tile removal.
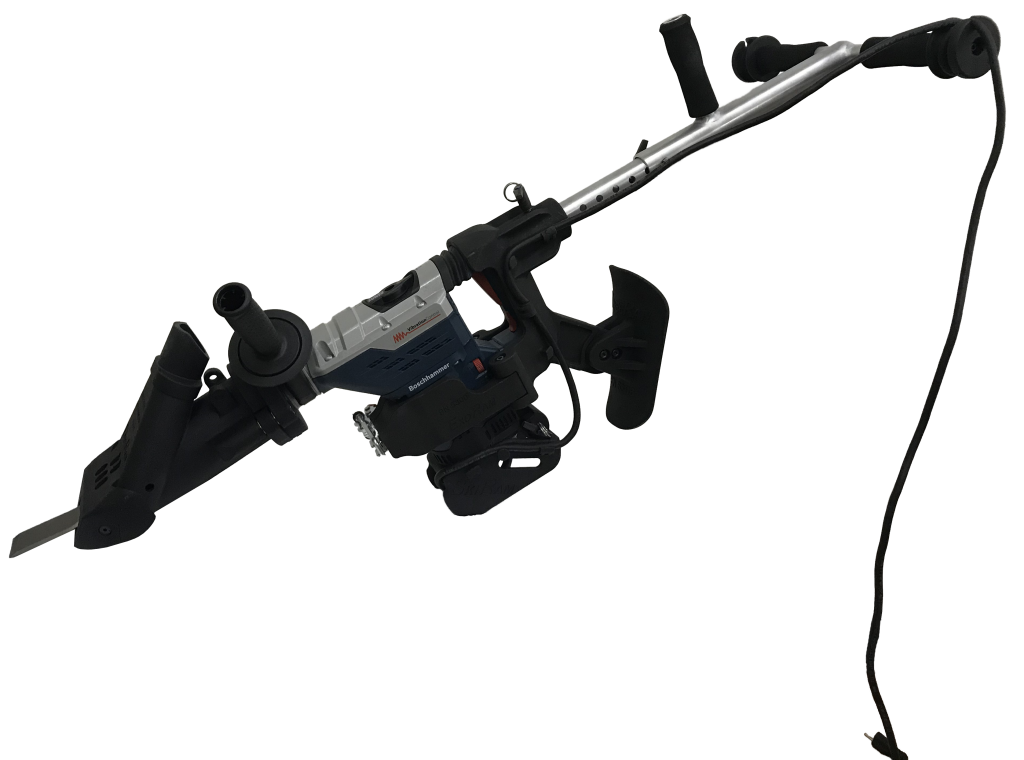
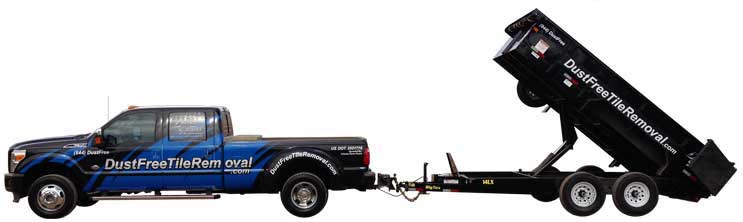
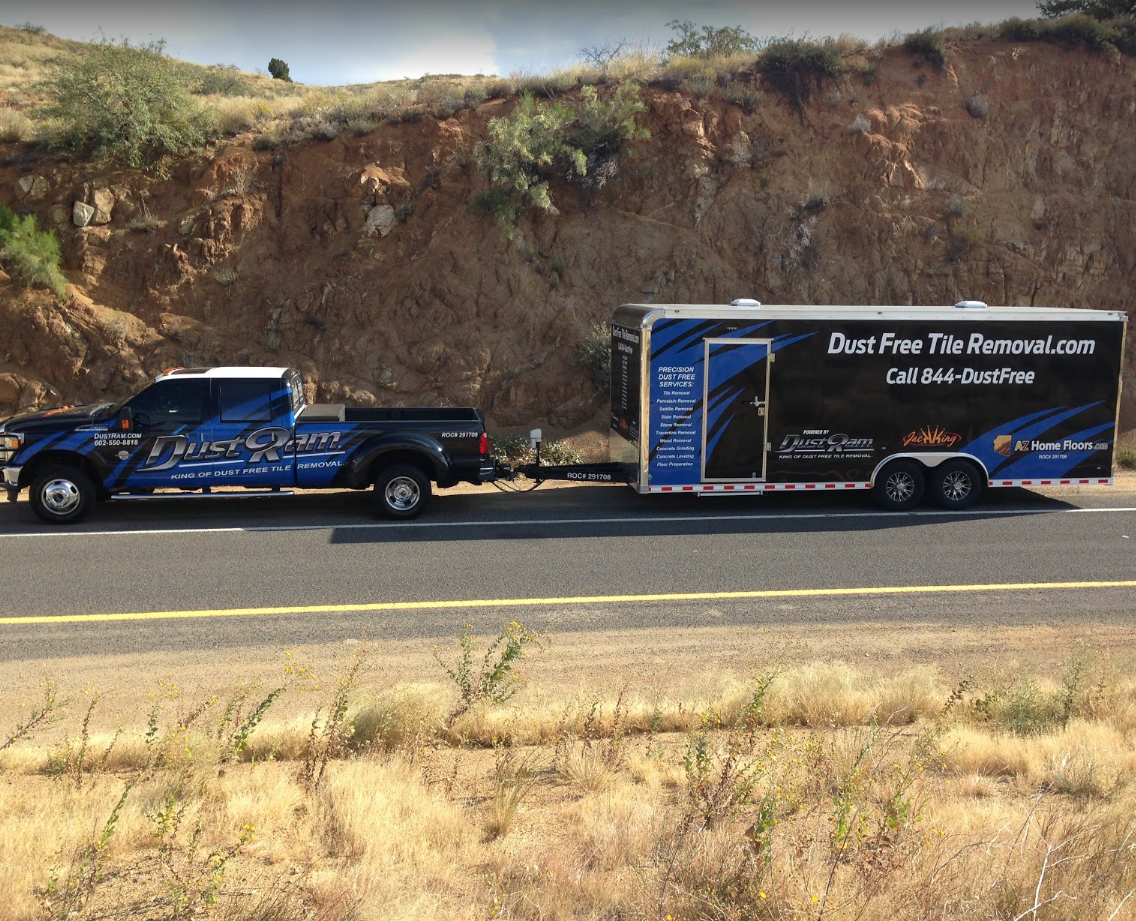
The best, and only, way to eliminate the mess and risk of traditional tile removal is by hiring a reliable dustless tile removal company. Essentially, the distinction of dustless tile removal begins with the application of highly specialized tools that come with high-powered vacuum hoses. Typically, these hoses are connected to the tools and inhibit the tile dust from going airborne. The hoses are usually run via sealed windows to certain deposit containers to inhibit any dust from leaving your house
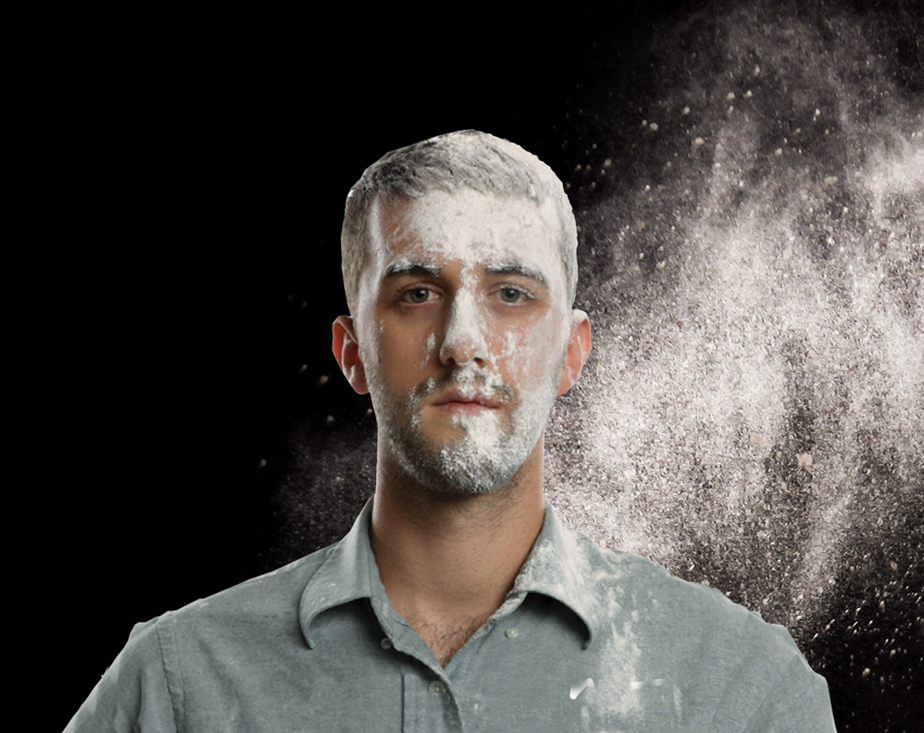
Remember that crystalline silica dust is not only MESSSSSY but also very dangerous for people’s health! The dust is quite challenging to eradicate when it is released in your house since it pervades everything from clothes, cabinets, pantries, etc. It eventually costs people more since they need to hire real professional cleaners. So, it would be best to consider one from the beginning.
Prevent Exposing Yourself to the Dangers of Tile Dust
More often than not, traditional tile removal releases large amounts of debris and dust which consist of crystalline silica – this a dangerous material in grout and tile. The dust particles can travel through the air easily and into the respiratory system, and this is what makes the dust particles very dangerous.
Crystalline silica can actually produce tears in your lungs and esophagus. However, you can avoid this life-threatening situation by taking the right precautions. Are you thinking wearing a mask would fix this? Well, that wouldn’t be enough! The dust particles that will circulate your home will comprise this dust, which makes it a risk even after the job is done.
Before you embark on any tile removal project, it would be prudent to ensure that you get all of the proper equipment. This might include tools to perform the actual tile removal as well as safety gear to protect yourself.
– Tools
Some of the tools you will require to remove the tile include a chisel, floor scraper, paint scraper, and a drop sheet to collect the dust. These tools will help to scrape the tile and get rid of all materials from the floor to return you to your condition. Based on how your tile installation occurred in the first place, you might use a hammer to break up that tile. You will need a roofing rake, a screw gun, and a flat shovel to remove the underlayment.
– Safety Gear
Since tile removal can be a tricky business, it’s crucial to take all safety precautions to ensure that you perform it safely. If you are DIY then that means investing in leather gloves to secure your hands, a dust mask to prevent you from inhaling dust, and safety glasses to safeguard your eyes. Every person coming into the work area should wear safety gear
The first step before starting to remove the tile is to remove all baseboards and trim from all-round the room. Ensure that you take care of all the materials that you’re removing so that they may be easily reinstalled once you have completed removing the tile and have a new floor installation. Additionally, you should cover any vents in the room to prevent dust from getting into them.
2. Removing the Tile
After you have eliminated every trimming, it is time to remove the tile. The process becomes even more challenging if you are planning to maintain the tiles than if you are simply replacing them. If saving the tiles is no longer your concern, you can begin by smashing them using a chipping hammer.
Begin by breaking up one tile with a hammer’s edge. Use a chisel for removing the rest of that tile as well as the tiles close to it. Although you will need to break up a tile, if you are cautious about prying up the close ones, you may maintain the rest. By using the hammer’s claw end, they should come up easily. And in case saving the tile is not your concern, you may simply break them all up using the hammer, this is if you think that is simpler than prying them up.
In case your tile is attached to the floor using cement, maintaining the tile might not be a choice. If the tiles do not come up easily, break them up using the hammer and remove them using a floor scraper. Take a look at our tile removal equipment.
3. Removing the Underlayment
After you have eliminated all of the tiles, look out for the underlayment’s condition. You can utilize the hammer to get rid of the mortar from the underlayment. However, depending on the condition of the underlayment, it might require to be replaced. Since adhesive removal might be difficult, it might be worth your money and time to remove and replace the underlayment. It might be deteriorating if it is old.
Remove this underlayment by removing any screws that might be keeping it adhered to the floor. You can then use a flat shovel or a roofing rake to pry up the underlayment’s edges.
4. Cleaning the Subfloor
After the underlayment has been eliminated, the next step is cleaning the subfloor. After scraping any remaining adhesive from your subfloor, clean up any bits of tile, screws, or anything else that is on that subfloor. Inspect it for any mold or damage that may demand attention. Ensure to make any necessary cleanings or repairs.
Before a new floor installation, the subfloor should be clean, entirely clear of debris, and in great shape. You would not want to cover up mold or damage that may deteriorate over time.
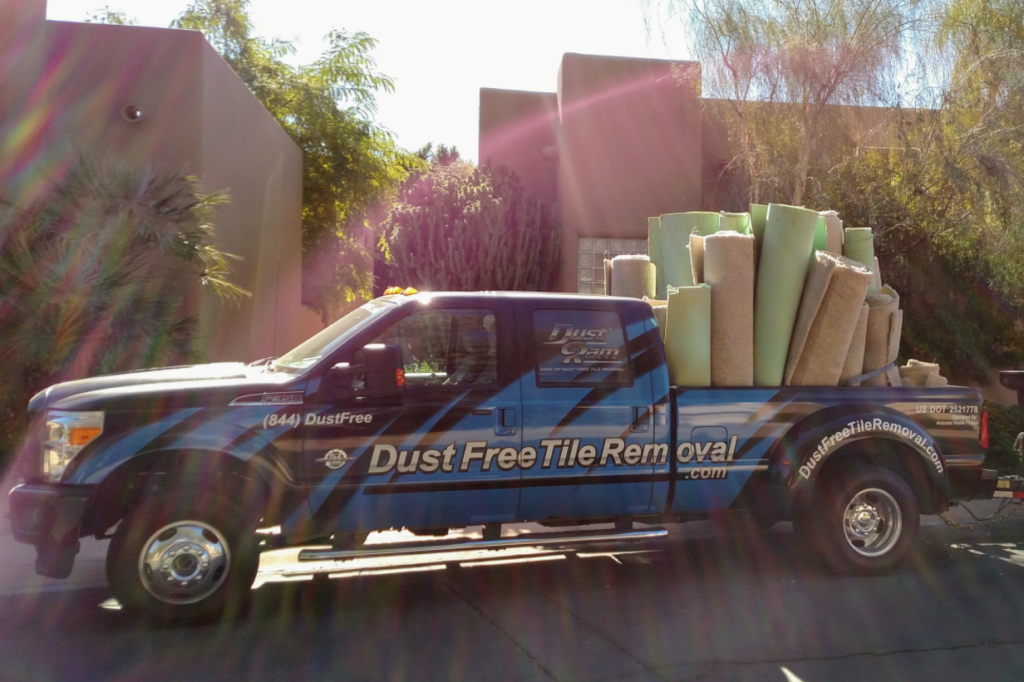
If you opted for professional tile removal, the installer might request a fee for its removal and then take care of that for you. And if you take the DIY approach for tile removal, you will need to dispose of that tile yourself.
Taking Them to a Local Recycling Center or Donating Your Tiles
Mostly, old tiles are not recyclable with regular recycling. You may take it to the local recycling center once you call them to ensure that they can have it. In case your tiles are in great condition, you could donate them to another person who might require them. Some community construction projects might be thankful for a donation of some free tile.
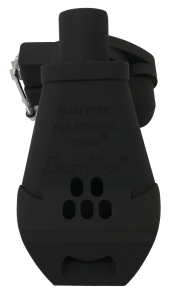
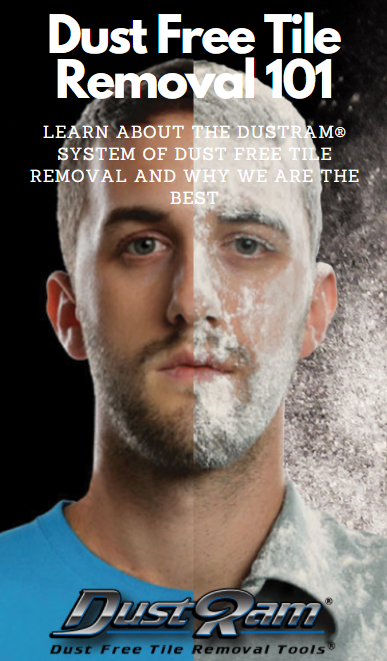
DustRam® Dustless Tile Removal System
Whether you are still unsure about a DIY or hiring a professional dustless flooring removal contractor, here is what you need to know. Whether you want to remove ceramic tiles, thin set, stone, travertine, porcelain tiles, grout, mortar, a contractor can easily remove any of these materials without leaving a dusty mess behind. By choosing DustRam®, you do not have to spend countless hours on the job and a significant amount of money in the before and after costs of your DIY project.
The ability to provide tile removal services has advantages for both homeowners and contractors. Consider how much effort and time is spent before the beginning of a removal project establishing ineffective plastic and spend even more effort and time cleaning up the dust once the removal is finished. DustRam® is a speedy-fast service provide of dustless tile removal that will leave your subfloor in impeccable condition so that the installation is a breeze.
Below are several reasons to consider tile removal with DustRam®
– Our process is extremely clean, and no water, tape, or plastic sheeting is needed to protect your house from dust.
– Flooring may be removed from pantries containing food on the shelves and from closets containing hanging clothes.
– Your indoor air quality does not change even as thin-set and tile are being removed at high speeds.
– You would not have to move out of your house, pay for many visits from a professional commercial cleaning company, or postpone the removal of your floors anymore. Contact our team with any questions you may have.
For More Information Check Out The Following Posts