DustRam® King of Dust Free Tile Removal

Dust Free Tile Removal Tools & Equipment

  • Home
  • Tile Removal
  • Learn More
    • Articles/Tools
      • Dangers of Silica Dust
      • DustRam® VS The Competition
      • Evolution of DustRam®
      • Electric Chipping Hammer
      • Flooring Business Advantage
      • Hardwood Floor Removal Services
      • How to Remove Thinset
      • How to Prepare Your Floor For Tile
      • Tile Removal Cost
      • Tile Removal Tools
    • Ahead of the Competition
    • DustRam® VS
      • PulseRam® vs CDCLarue®/Pulse-Bac®
      • DustRam® vs DustCuff™
      • DustRam® vs Dust Commander®
      • ExoRam® vs HHDA™ DemoSled™
    • Premium Territories
    • Legal
    • Patents & Trademarks
    • Tile Removal Equipment
  • Products
    • DustRam® Products
      • ExoRam® Stand Up Tile Removal Tool
      • Metal DustRam® Dust Free Tile Removal Tool
      • Nylon DustRam® Dust Free Tile Removal Tool
      • Pulse-Bac® CDCLarue® 1000 Series Vacuum
      • Pulse-Bac® DustRam® Vacuum Filter Alternative
      • PulseRam® – Auto Self Cleaning Vacuum
      • PulseRam® Self Cleaning Vacuum Circuit Board
    • Affiliate Products
      • Angle Grinder
      • Chipping Hammer
      • Scraping Chisel
      • DEWALT Angle Grinder Tool
      • Electronic Torque Wrench
      • Jack Hammer Kit
      • Makita Angle Grinder
      • Ridgid Dusting Brush
      • Ridgid Wide Floor Brush Accessory
      • Permatex High Strength Threadlocker Red
      • Permatex Threadlocker Blue
      • TEKTON Groove Joint Pliers
      • Triax Wheel Bearing Grease
      • Worm Drive Circular Saw
  • Dust Free vs. Dustless
  • Blog
  • FAQs
  • Videos
  • Join DustRam®
  • Payment Options
  • GET A QUOTE
  • 1.844-DUSTRAM
  • Find A Contractor
  • Return Policy
  • Contact

How to Remove Hardwood Flooring in Commercial and Residential Properties

May 3, 2023 By DustRam® King of Dust Free Tile Removal 27 Comments

how to remove hardwood FLOORING

Hardwood flooring is a beautiful and timeless addition to any property. However, when it comes time to remove it, many homeowners are tempted to tackle the job themselves. While DIY hardwood floor removal might seem like a cost-effective option, it can be a complex and labor-intensive task that often leads to more problems than solutions. Nevertheless, we want to walk you through the step by step process to DIY and provide insight on when its time to hire dust free flooring removal experts.

When Should You Remove Hardwood Flooring

Before we get started, you must first know about the signs that indicate it’s time to remove your hardwood flooring for a safer and healthier home environment.

Water damage: Flooring with water damage cannot be simply stained over. Additionally, water damage can lead to mold or mildew growth, which negatively impacts your health.

Mold or mildew presence: Mold is harmful to your health, making it necessary to replace the entire flooring.

Exposed nails: Loose nails pose a risk to you, your family, and your pets.

Excessive wear and tear: While minor scratches are normal, extensive damage warrants a new floor.

Creaking or shifting hardwood: These signs suggest damaged boards and indicate the need for hardwood floor removal.

Frequent refinishing: Each refinishing process sands down the floor, leaving floorboards too thin and prone to damage if done excessively.

Uneven flooring: This issue may point to problems with the sub-flooring beneath. Remove the hardwood to inspect the sub-flooring and joists for potential issues before installing new hardwood.

Structural issues: Over time, houses may settle too far into the ground, causing structural problems that necessitate hardwood floor replacement and professional intervention to address other structural concerns.

If you encounter any of these issues, consider replacing your hardwood flooring. Although it requires an investment, addressing these problems can save you from more work and expenses in the long run.

Understanding the Hardwood Floor Removal Process

To further appreciate the complexities of hardwood floor removal, it’s essential to understand the step-by-step process involved:

1. Assessing the Hardwood Flooring:

Before removing the hardwood flooring, it’s crucial to assess its condition, the type of adhesive used, and the subfloor underneath. This information helps determine the best removal method and tools to use.

2. Preparing the Workspace:

Proper preparation is critical to protect the surrounding areas from damage and contain dust and debris. This may involve covering furniture, sealing off vents, and setting up a dust containment system.

3. Removing the Hardwood Flooring:

Depending on the type of hardwood flooring and adhesive used, various removal methods might be employed. These can include manual techniques (e.g., using pry bars and hammers) or using specialized tools such as walk-behind floor scrapers.

4. Cleaning Up Debris and Dust:

After the hardwood flooring is removed, the area must be thoroughly cleaned to remove any remaining debris and dust. This step can be particularly challenging for DIYers without access to professional-grade dust containment systems.

5. Preparing the Subfloor:

Once the area is clean, the subfloor must be prepared for the installation of new flooring. This may involve leveling the surface, repairing any damage, or removing adhesive residue.

Related Post: Buckling Hardwood Flooring: Causes, Prevention, and Repairs


What to Do: Step by Step

Equip yourself with the right tools, safety gear, and techniques for a successful hardwood floor removal project.

[Step 1: Gather Essential Tools and Safety Gear]

To ensure a smooth hardwood floor removal process, assemble the necessary tools and safety gear:

Tools:

-Measuring tape
-Hammer
-Pry bar
-Trim puller
-Circular saw
-Saw blade
-Sledgehammer
-Painter’s tool
-Multi-Max MM35
-Nail claw
-Locking pliers
-Vice grips
-Tarp

Safety Gear:

-Knee pads
-Work gloves
-Safety glasses
-Dust mask or N95 respirator
-Hearing protection
-Sturdy boots

[Step 2: Clear and Protect Furniture and Items]

Before starting, remove all furniture from the room. If you cannot remove everything or only need to remove a section of the floor, cover items to keep them clean. Use a tarp to protect surfaces from sawdust and debris, making cleanup easier later.

[Step 3: Define Your Project Scope]

Determine the extent of your project, whether removing the entire floor or just a portion. Break the project into manageable sections and mark them with tape to stay organized and avoid accidental removal of undesired areas.

[Step 4: Score and Remove Baseboards]

Score the baseboards along their full length where they meet the wall using a painter’s tool, box cutter, trim puller, or utility knife. This prevents paint or wallpaper tearing. Remove any nails or screws securing the baseboards or moldings with a pry bar or crowbar. Then, gently pry the baseboards from the wall every 8-10 inches.

[Step 5: Cut Flooring into Sections]

If reusing the wood, avoid cutting it into small sections. For those not reusing the materials, use a circular saw to cut a small, marked section after removing baseboards. Ensure the saw blade is deep enough to cut the floorboards without damaging the subfloor. Cut the sheets into 3-foot sections in a perpendicular direction to the wood panels, making it easier for the saw to slide without hitting nails.

[Step 6: Lift the Sections]

Carefully use a pry bar to lift each section of wood sheets. For wood reuse, gradually raise the sheets while moving the pry bar to prevent cracking. If not reusing the wood, apply force as necessary to lift the sections, keeping in mind that this may cause splitting.

[Step 7: Remove Nails and Staples]

After lifting all wood sheets, remove the nails and staples holding them in place. This step can be tedious, but essential for a clean removal. Use a nail claw and hammer or sledgehammer to pull out each nail and staple. A large magnet can help collect loose materials during cleanup.

[Step 8: Complete the Cleanup Process]

Clean up sawdust and debris, even if you used a tarp to cover items. Vacuum the entire floor to create a clean workspace for the new flooring installation.

Congratulations on successfully removing your hardwood flooring! With the old floor gone, it’s time to consider new flooring options, such as reclaimed wood, to give your home a fresh look.

The Challenges of DIY Hardwood Floor Removal
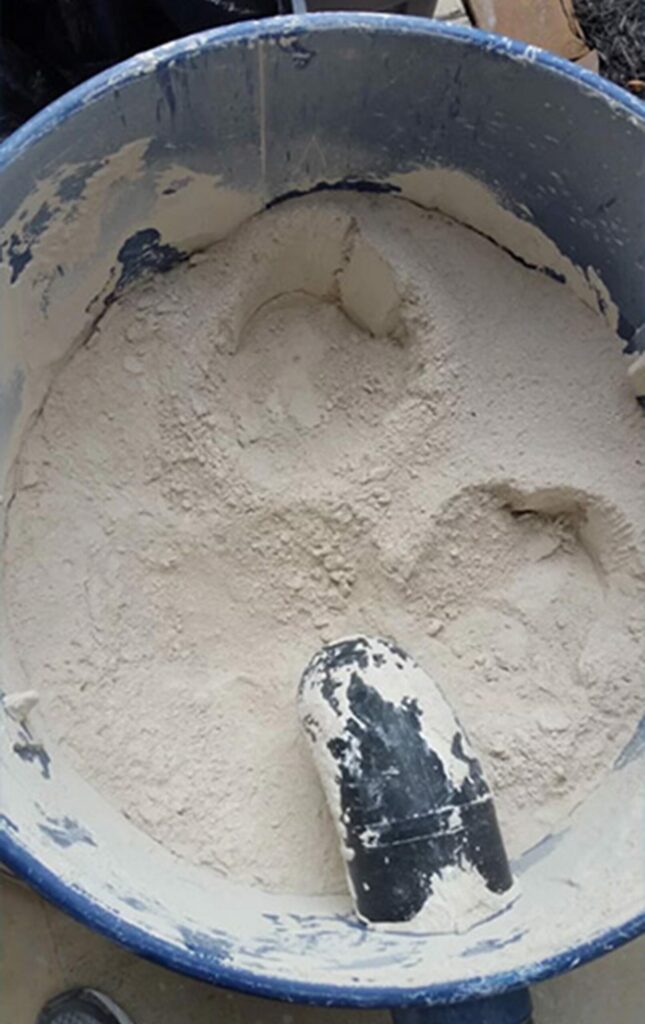
silica dust created during a tile removal

– Time-Consuming:

Removing hardwood flooring on your own can be an incredibly time-consuming process, especially if you have limited experience. What might take a professional team only a day or two can easily turn into a week-long project for a DIYer.

– Inadequate Tools:

Most homeowners do not have access to the specialized tools required for efficient hardwood floor removal. Using improper tools can lead to frustration, longer removal times, and potential damage to your subfloor.

– Dust and Debris:

One of the most significant challenges with DIY hardwood floor removal is managing the copious amounts of dust and debris generated. Without proper dust containment systems, airborne particles will spread throughout your property, posing health risks and creating a mess that requires extensive cleanup. 

Between professional cleanings and health costs from crystalline, silica dust exposure, your overall costs of DIY end up costing you more! Let DustRam® the inventor of dust-free flooring removal do the job for you! Find a DustRam® contractor near your city and get a free estimate.

Learn more about crystalline silica dust and why it’s so extremely dangerous.

– Risk of Damage:

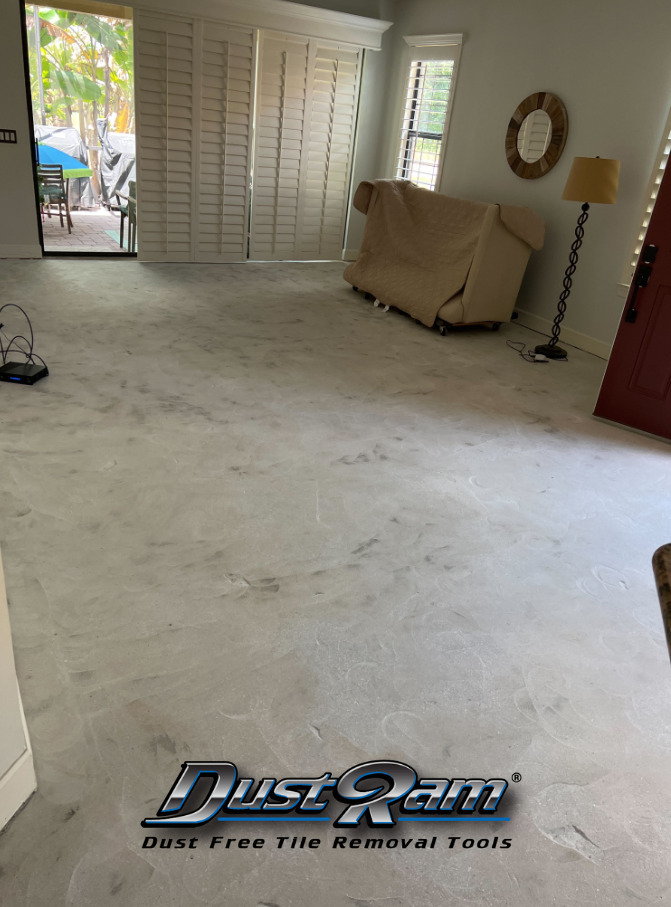
Inexperienced DIYers run the risk of damaging their subfloor or surrounding areas during the removal process. This can lead to costly repairs and even more time spent on the project. DustRam® leaves your subfloor smoother and flatter and better prepared for the new floor installation. We grind down the thin-set, glue, and adhesive, down to the slab and give scarification for significantly better floor bonding.

-Disposal Issues:

Disposing of waste materials after a DIY hardwood floor removal can be problematic. Many municipalities have strict regulations regarding waste disposal, and improper handling can result in fines or other penalties.

https://www.dustram.com/blog/indoor-air-quality/

Let DustRam® Do It: DIY vs. DustRam® Services
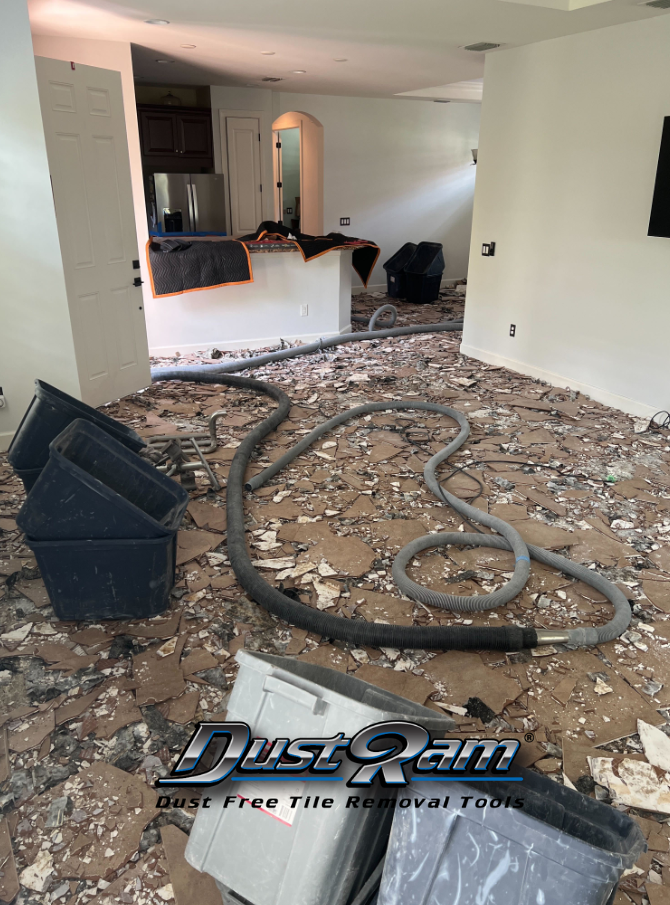
rubble tile flooring house dustram
scarified concrete subfloor

To further illustrate the advantages of choosing DustRam® for your hardwood floor removal needs, let’s compare the process with a typical DIY approach:

Time:

DIY removal can take several days or even weeks to complete, while DustRam®’s professional services can complete the project in a fraction of the time.

Tools:

DIYers often lack the specialized tools needed for efficient removal, whereas DustRam® has access to advanced equipment designed for the job.

Dust Management:

DIY removal can generate a significant amount of dust, which can be difficult to manage without proper containment systems. DustRam®’s system ensures a dust-free environment.

Damage Prevention:

DIY removal carries a higher risk of damage to the subfloor and surrounding areas. DustRam® technicians utilize their expertise to avoid such issues.

Disposal:

DIY waste disposal can be challenging and potentially violate local regulations, while DustRam® ensures responsible and compliant disposal practices.

For more related content, be sure to check out the dust free flooring removal blog. You can also learn more about our process, +26 times patented equipment, and our payment options.
Filed Under: Hardwood

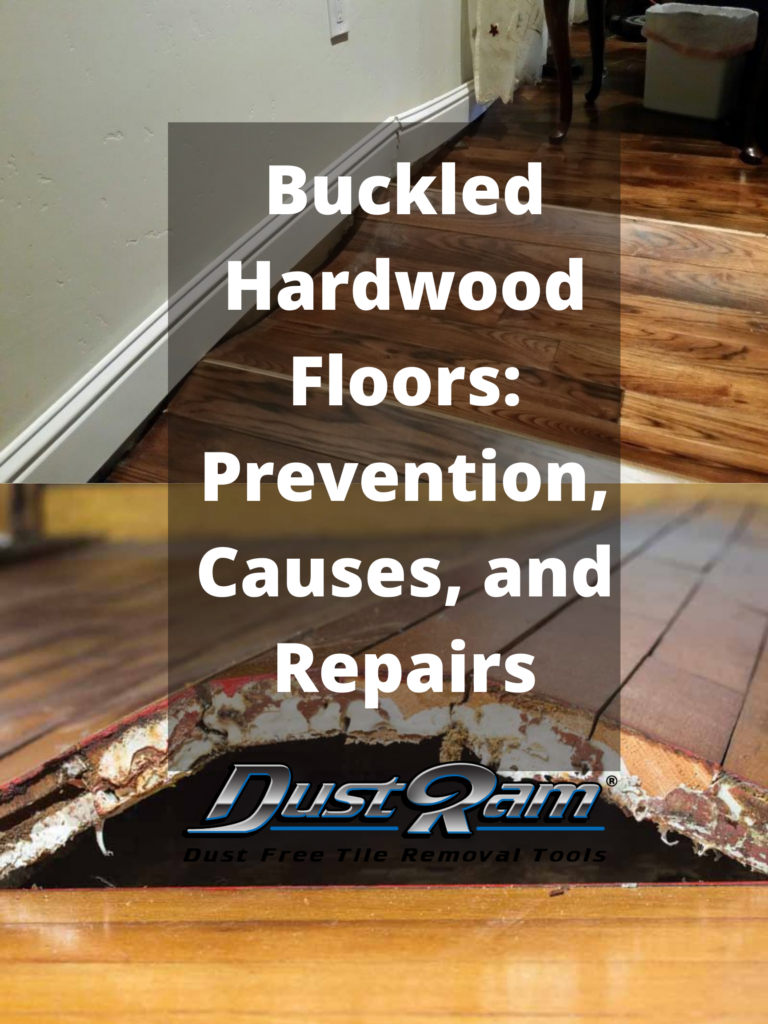
Buckling Hardwood Flooring – Causes, Prevention, and Repairs

April 8, 2022 By DustRam® King of Dust Free Tile Removal 2 Comments

Buckling Hardwood Flooring Causes, Prevention, and Repairs

Photo Credits: Hardwood Floorings Mag & Construction Specifier

Buckling Hardwood Flooring: Causes, Prevention, and Repairs

Hardwood flooring can add elegance and a sense of luxury to any home. The undeniable allure of hardwood completely transforms and upgrades any space’s aesthetic appeal. But this flooring also requires a fair amount of attention and maintenance to prevent future damage, such as buckling. Follow along with DustRam® for the inside scoop on how to keep your hardwood floors from buckling! 

https://www.dustram.com/blog/add-new-floors-before-selling-home/

Warning Signs of Damage

Wood and hardwood flooring, by its very nature is susceptible to the environment it is in. This can cause hardwood flooring to develop a life of its own and begin reacting to the atmosphere in which it lives. This can cause hardwood to buckle, show cracks or separation between boards, turn up at the edges to cause cupping, rise in the middle and lead to crowning, or cause the boards to lift and get detached from the subfloor.

Lifting indicates extreme buckling and occurs only when the hardwood floors are flooded with water. Cupping, crowning, and cracks on the other hand are the more common signs that can be an effect of a damp environment.

https://www.dustram.com/blog/signs-to-replace-your-flooring/

Different Elements that Cause Hardwood to Buckle

Water

Hardwood floors do not like water. Hardwood is a naturally porous material that easily entraps moisture, causing damage to your floors. When exposed to water, hardwood begins to swell so that the added moisture can be accommodated. This expanding of the floor and shrinking when the moisture leaves the hardwood can lead to its warping and buckling.

Humidity

Humidity is just another name for water in the air and can have the same effect on hardwood that water has. This can depend on the weather and its ability to change the conditions inside a home through open doors and windows. Where homes are near the sea or where geography causes high humidity conditions to be prevalent in the air, hardwood floors remain susceptible to buckling.

Changes in Temperature

Where the weather is constantly changing from hot to cool in a repetitive cycle, the wood will expand when it is hot and contract when it is colder, causing the boards to buckle and warp.

Defects in Installation

A hardwood floor that is not properly installed will have openings and cracks that allow the moisture or even water from any spills or occasional mopping to get into the wood and lead to buckling or warping of the floor. This may not happen if you are careful to select the right installer who has experience and a reputation for good quality work.

Sub-floor Problems

Sub-floors can be damp due to the lack of dampness barriers in foundations, or even if they are not allowed to dry out properly before the hardwood floor is installed. This dampness can find its way in to the hardwood boards and cause them to warp, buckle, or lift.

If you are removing flooring in your home, make sure to choose a company that provides top-rated results. Our team, at DustRam®, leaves your subfloor better prepared for your flooring installation. Contact us today for a free flooring removal quote.

Ignoring Acclimatization

It is a normal practice to allow the wooden boards that constitute your hardwood flooring to get familiar with the temperature and humidity prevalent in a home before they are installed. This process can take up to two weeks, but there is the danger of the boards drying or absorbing moisture, which can lead to the defects that we are trying to prevent. 

The timing is best left to the professionals and recommendations of manufacturers of the hardwood flooring but is something that must be insisted on, even though it may make you a little impatient for the installation work to start. 

https://www.dustram.com/blog/lvt-vs-vct/

Repairs to Buckled Wood Flooring

One of the first things to do, when you notice signs of buckling and warping in your hardwood floor is to determine the extent of the damage. Minimal buckling can even be repaired by just placing a heavy weight on the buckled area and forcing it to settle back into its space. 

You also need to ensure that area that is buckled is dry and have any excess moisture removed. Do this by using fans after any excess moisture has been removed by some absorbent material, like a towel. You can also use a dehumidifier for at least 24 hours in places where the damage is minor, and often you will find that boards go back to their normal position, and you will see no signs of buckling or warping.

Major damage to a floor, that has buckled in many places may require replacing the badly damaged boards. Here the major difficulty can come from finding boards that match your existing floor. 

Hardwood floors where the boards have tongue and groove joints will resist the buckling better because the boards become like one big sheet, but at the same time, any repairs to be carried out here will require the services of professionals.

https://www.dustram.com/blog/lvt-vs-lvp/

Avoiding the Formation of Buckled Flooring

Water, as we have said, is the major cause of buckling and warping of hardwood flooring. So, make it a point to clean up any spills of any liquid immediately, before the hardwood starts to absorb it. Make sure that there are no places on the hardwood floor where leaks or excess water can lead to the floor absorbing water.

So, if you have hardwood flooring, such spots can be where kitchen sinks and washing machines are installed. If you have a crawl space, make sure that it has proper moisture barriers. If you are in the habit of mopping your floors, make sure that you use the least amount of water, and ensure that the floor is dried after you have finished your cleaning operations. Use a fan or dehumidifier if necessary.

Other Damages to Hardwood Floors

Hardwood floors can also be damaged if they are constantly walked over with high-heeled shoes or ones with cleats. If you cannot avoid this altogether, make sure that high-traffic areas are covered by a carpet or rug. Hardwood floors can also be damaged by the use of the wrong cleaners. See that you are using the right cleaners to prevent any damage.

Proper Subfloor Preparation Before Laying Down Hardwood Flooring

Before you install a hardwood floor make sure that it is suitable for your home. Evaluate the temperature and humidity in your home and do this over a long period, so that you take varying weather conditions into account. If your floor needs to be completely removed and replaced, make sure that you engage the services of an agency that guarantees dust-free removal.

For the latest news and trends make sure to visit our blog. If you would like to learn more about our dustless flooring removal services for damaged or outdated flooring, contact us today. We provide free project estimations.

Filed Under: Hardwood, Flooring

Call Us Today

1.844.DUSTRAM

Quick Links

  • Dust Dangers
  • DustRam® Tools
  • Get DustRam® Certified
  • Terms & Conditions
  • DustRam Versus Competitor

Locations

  • Find a Contractor

Follow Us

  • Instagram
  • Twitter
  • Tumblr
  • YouTube
  • Facebook

Copyright © 2025 DustRam • All Rights Reserved - Dust Free Tile Removal | The material on this website cannot be distributed, reproduced, cached, transmitted, and or otherwise used. You need written permission from DustRam®