Written By DustRam®

Written By DustRam®

Share and Bookmark

LinkedIn
Facebook
Twitter
Pinterest
Tumblr
how to remove carpet

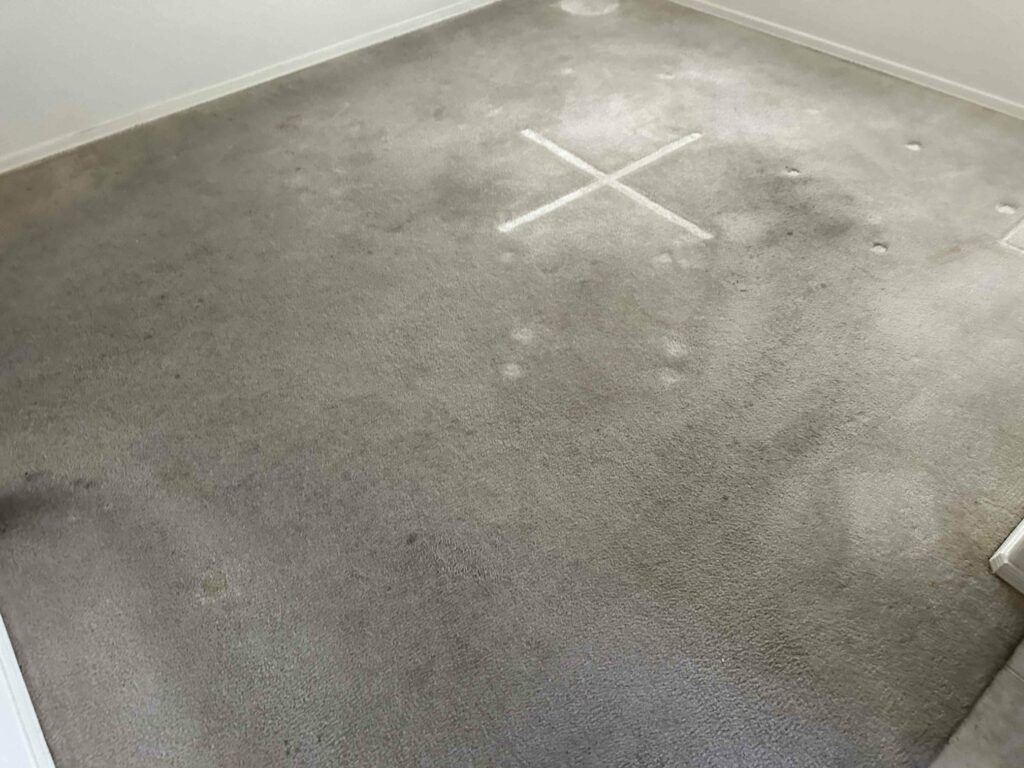
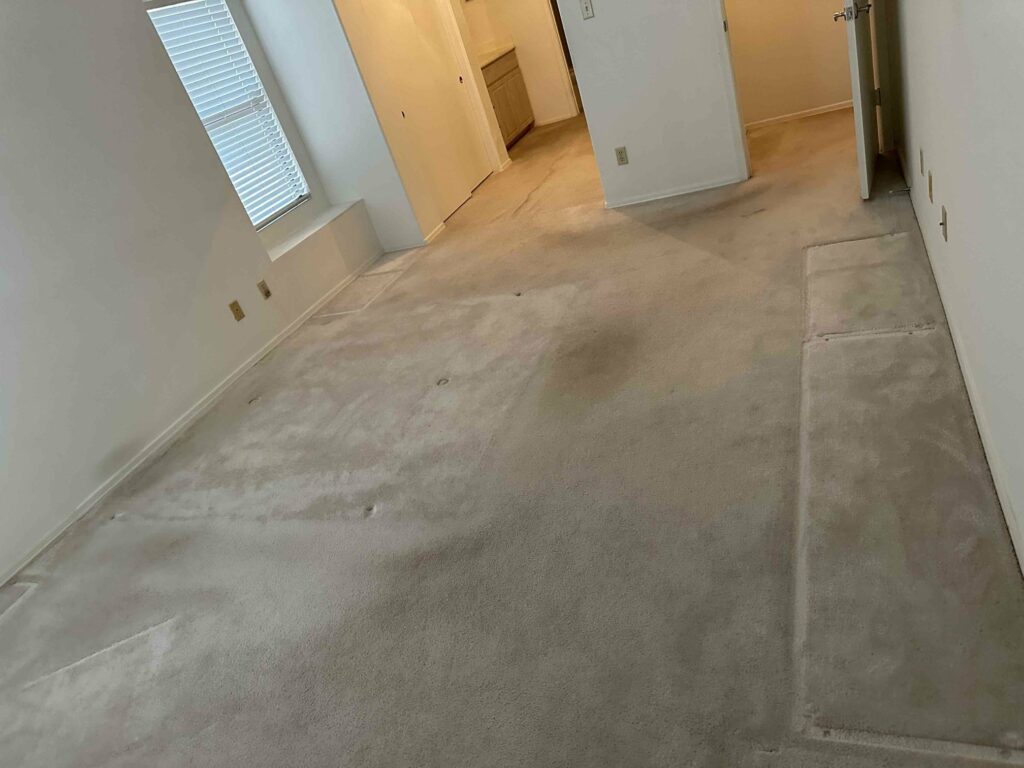
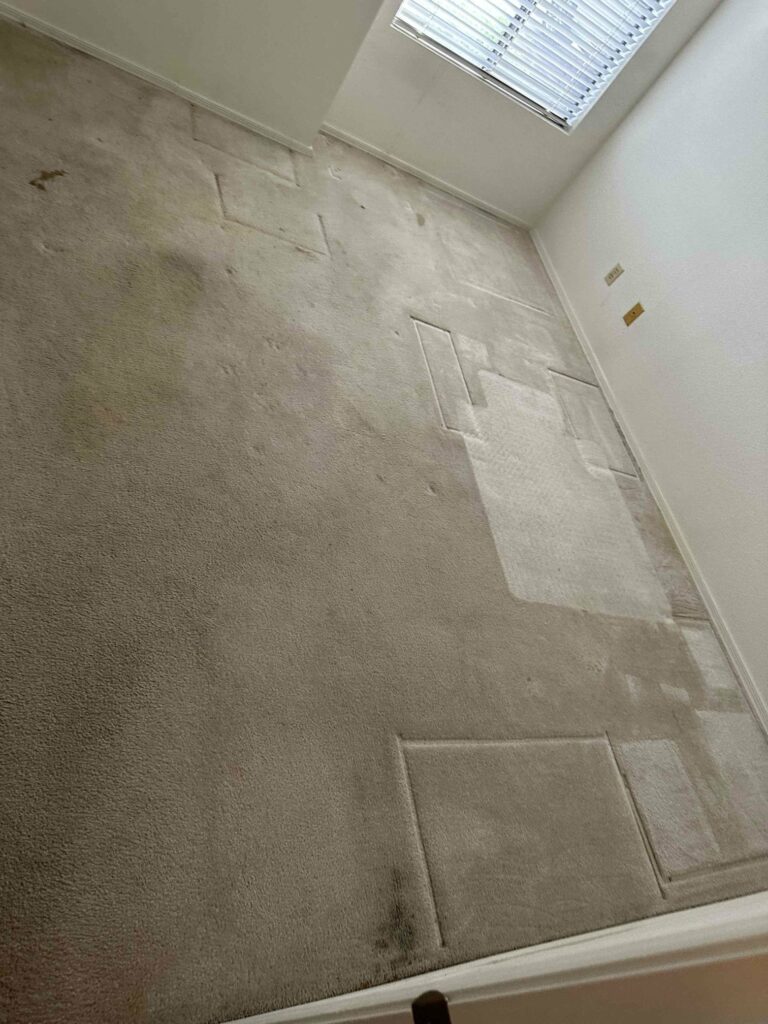
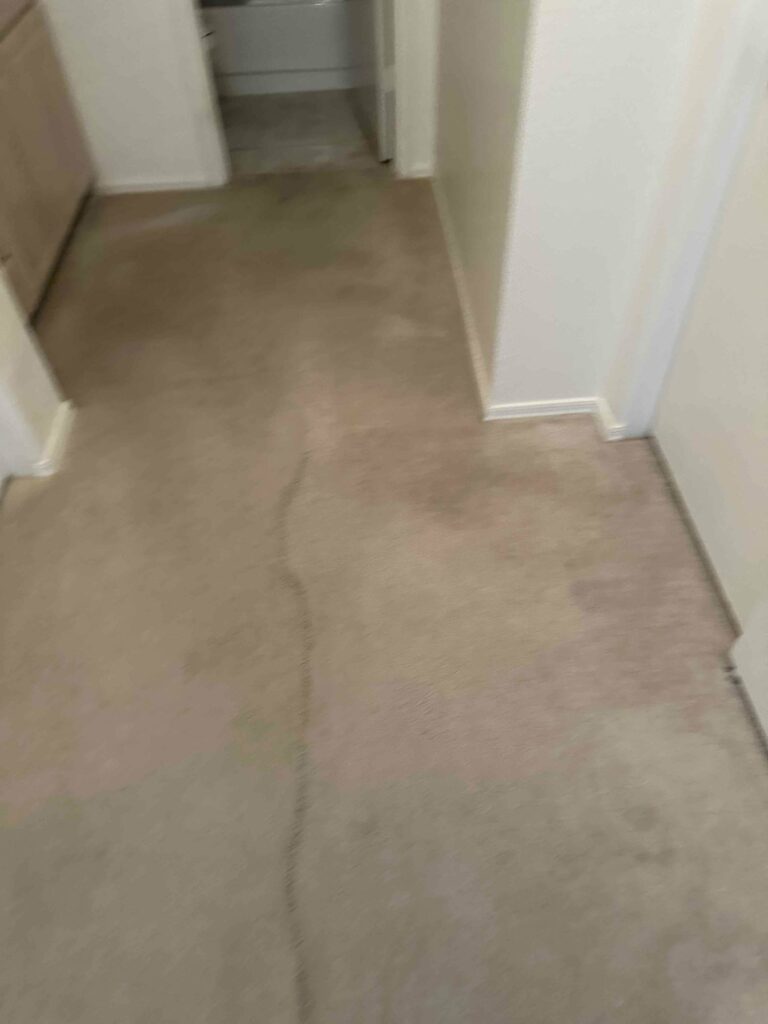
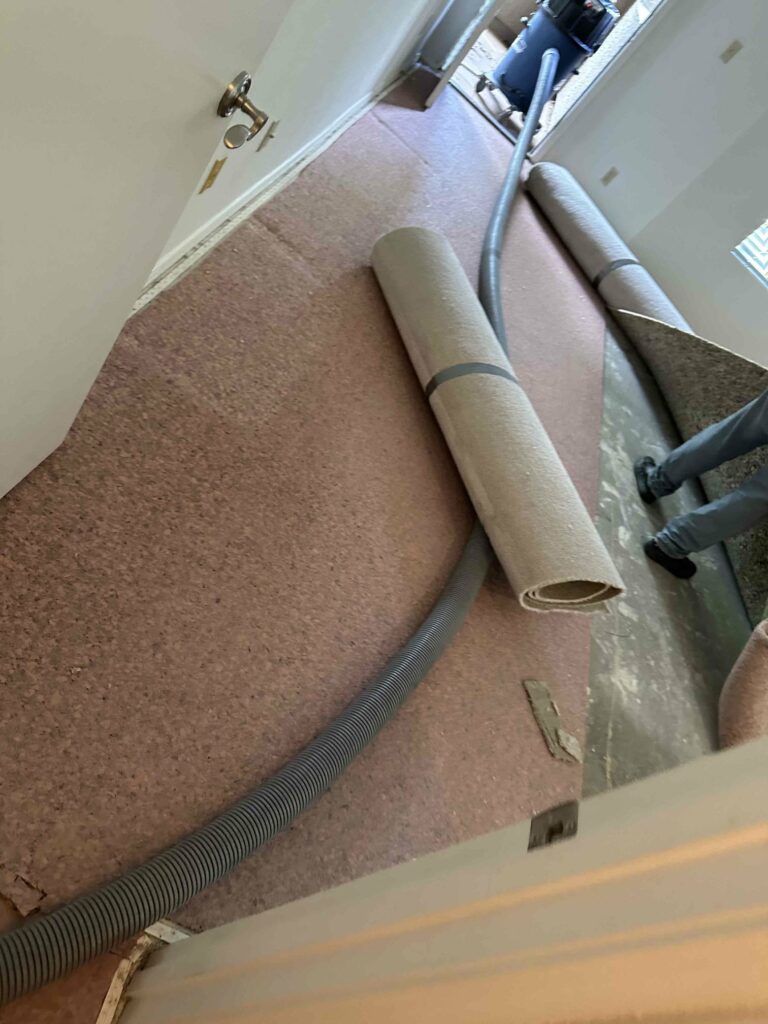
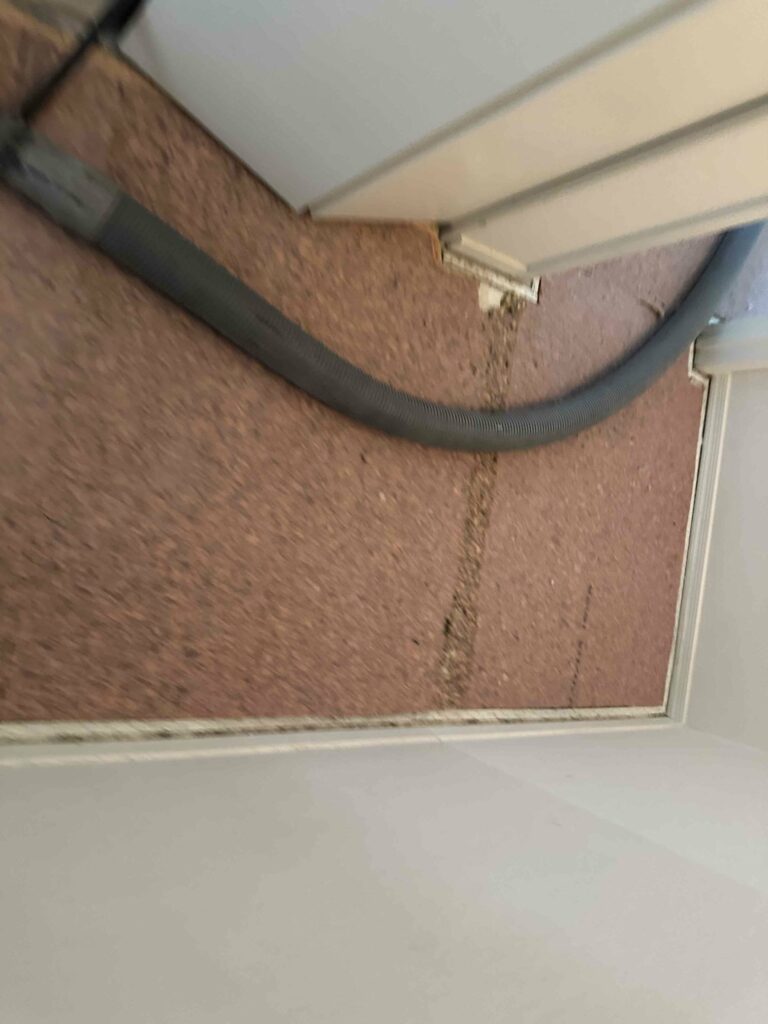
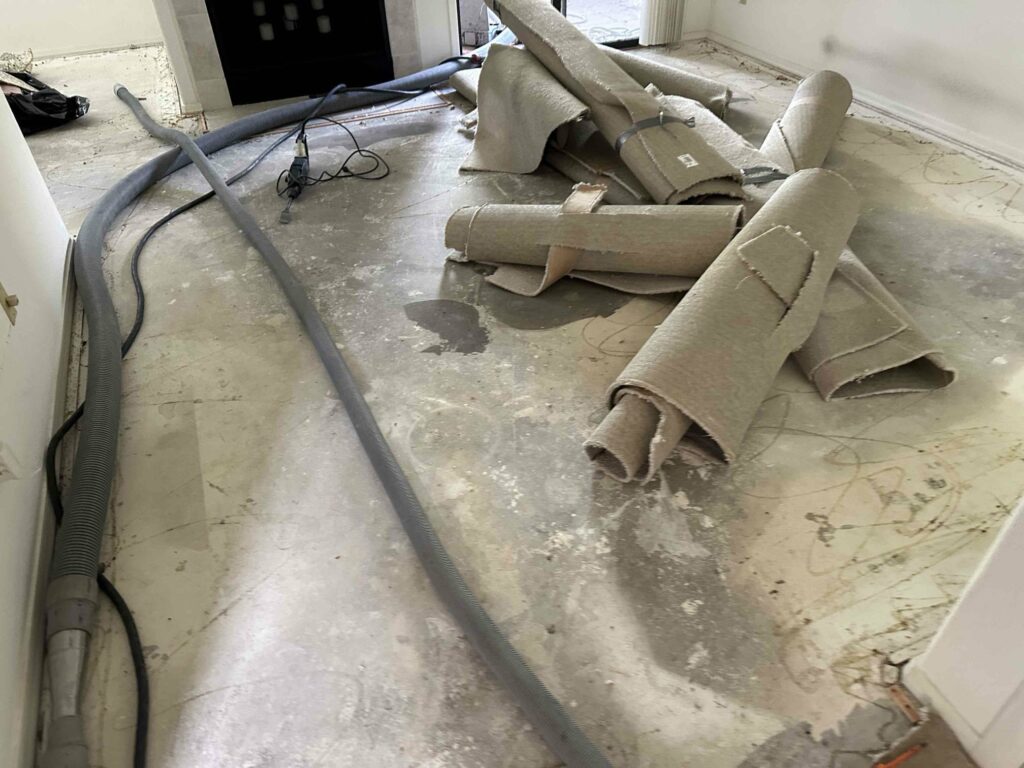
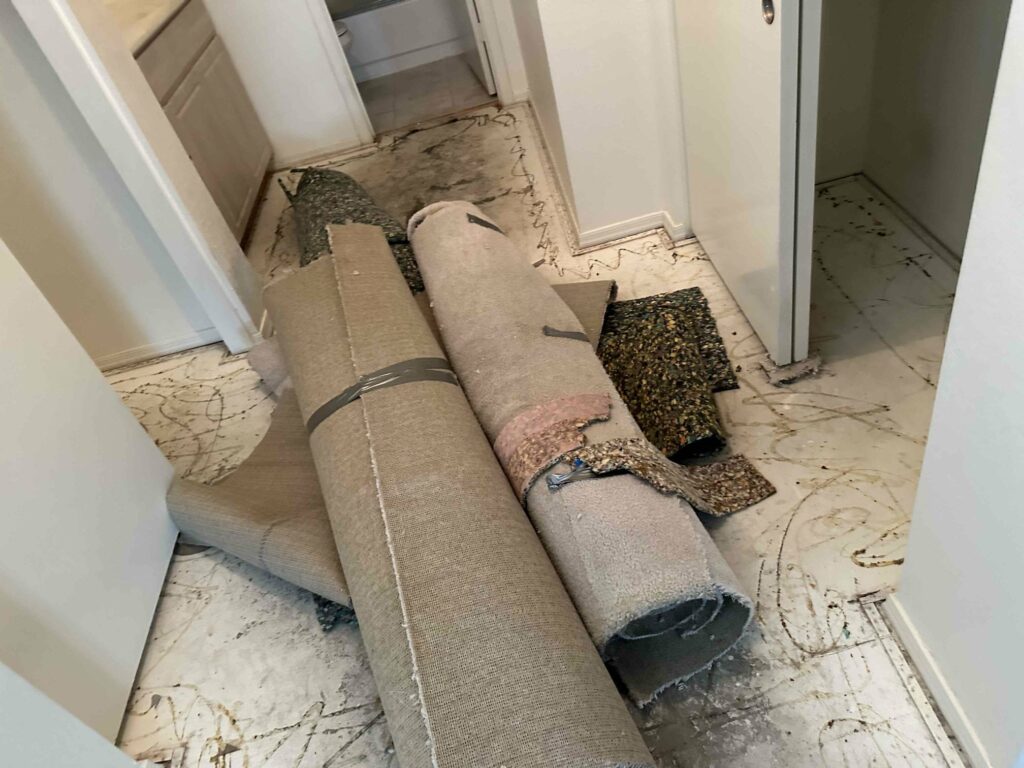
How to Remove Carpet Safely and Effectively - DustRam® Guide

Embarking on a DIY carpet removal project can be a transformative experience for your home. It’s a task that requires careful planning and execution to ensure safety and efficiency. In this comprehensive guide, we will walk you through the entire process of removing carpet, focusing on every detail to make this DIY project manageable and successful. With DustRam®’s expertise in dust-free flooring solutions, you’ll be equipped with professional insights to ensure a clean, safe, and efficient carpet removal experience. Follow along to learn how to remove carpet safely and efficiently with the industry leader!

room with carpet in tact before removal
room with full carpet prior to getting it removed

1: Preparation for Carpet Removal 

Proper preparation is crucial for a smooth carpet removal process. 

Start by gathering the necessary tools: 

– a utility knife with a sharp blade for cutting the carpet

– pliers for pulling it up

– gloves to protect your hands

– a dust mask

– safety goggles to shield against dust and debris

Consider the disposal or recycling of your old carpet. Research local carpet recycling programs or think creatively about how you can repurpose it. For instance, good-conditioned sections can be turned into area rugs or mats.

Next, clear the room. Remove furniture and any obstacles that might hinder your movement. This step is crucial for creating a safe working area and preventing any accidents. Pay special attention to doors, including closet and bathroom doors, as they need to be removed to provide unobstructed access.

If your room has shoe molding (also known as quarter-round molding), it should be carefully removed to avoid damage. This can be done using a pry bar and a hammer. Be gentle and try to keep the molding intact for reinstallation later.

Related Post: A Guide on the Best Flooring Options for Kitchens

carpet before removal
house with carpet

2: Understanding Carpet Types and Installation Methods

Knowing your carpet type and how it was installed is pivotal for a smooth removal process. Carpets are typically installed in two ways: they are either glued down or tacked.

Glued carpets are more challenging to remove due to the adhesive used. This type might require more force and patience, especially when dealing with the adhesive residue left on the subfloor. Tacked carpets are usually easier to handle, as they are held in place by tack strips along the room’s perimeter.

It’s also essential to understand the carpet material, as this can affect the ease of removal. For instance, natural fibers might tear more easily than synthetic ones, requiring a more delicate approach.

Related Post: Choose the Right Flooring for Your Home

dustram getting ready to remove carpet
contractors removing carpet

3: Step-by-Step Guide to Carpet Removal 

Start by using your utility knife to cut the carpet into strips about 4 feet wide. This makes the carpet easier to handle and remove. Begin in a corner of the room, where you can use pliers to grip and pull the carpet away from the tack strips. Be cautious of the sharp tacks and nails in the strips.

Once you’ve detached a section of the carpet, roll it up for easier disposal. If recycling, ensure the carpet is clean and free of any debris before taking it to the recycling center.

After the carpet is out, focus on removing the padding. If your subfloor is wood, the padding is likely stapled down. Use a staple remover or pliers to remove the staples. For concrete subfloors, the padding may be glued down, requiring a floor scraper to remove any adhesive residue.

This phase can be dusty, especially if the carpet and padding have been in place for many years. To protect your health and ensure a clean workspace, DustRam®’s dust control systems can be invaluable here, capturing fine particles and maintaining air quality.

Related Post: Signs its Time to Replace Your Flooring

carpet in a home after it was removed
dustram removed carpet

4: Addressing Challenges in Carpet Removal

Common challenges in carpet removal include dealing with stubborn adhesives, particularly with glued-down carpets, and removing underlay that may be stuck to the subfloor. Tools like adhesive removers or power oscillating tools can be helpful for these tougher parts of the job.

Another challenge can be the tack strips. If they are damaged or you’re changing the flooring type, they’ll need to be removed. Use a pry bar and hammer to gently lift and remove them. Be cautious of the sharp nails and potential splinters from the wood strips.

Throughout these challenges, maintaining a dust-free environment is crucial for your health and the cleanliness of your space. This is where DustRam®’s dust-free solutions shine, capturing over 99.9995% of dust particles, significantly reducing the risk of respiratory issues and keeping your workspace clean.

Related Post: How Silica Dust Exposure From Flooring Removal Can Harm You

carpet removal
carpet removal

5: After Carpet Removal – Cleaning and Preparing the Surface

With the carpet and padding removed, you’re left with the bare subfloor. This is an ideal time to clean and prepare it for your new flooring. Start by vacuuming to remove any leftover debris, dust, or particles. A shop vacuum can be effective, but for optimal dust control, DustRam® equipment is unparalleled.

Inspect the subfloor for any damage, such as cracks, holes, or loose panels. This is the perfect opportunity to make repairs, ensuring a solid and even base for your new flooring. Address any squeaks or loose areas, as they can affect the longevity and performance of your new floor.

Why Proper Sub-Floor Preparation is Key in Dust-Free Tile Removal

6: The Role of DustRam® in Dust-Free Flooring Solutions 

At DustRam®, we pride ourselves on providing top-tier solutions for dust-free flooring removal. Our patented technology ensures that a staggering 99.9995% of silica dust is captured during the removal process. This level of efficiency not only maintains the cleanliness of your project area but also significantly reduces health risks associated with dust inhalation.

Our solutions are not limited to tile removal; we extend our expertise to various flooring removal scenarios, including carpet. By using DustRam® equipment, you ensure a safer, cleaner, and more efficient removal process, whether you’re dealing with carpets, tiles, or other flooring materials.

dapibus leo.

Conclusion 

Removing carpets is a significant step towards revamping your space. By following these detailed steps and prioritizing dust control, you ensure a successful, clean, and safe removal process. Remember, DustRam® is here to assist you with advanced dust-free flooring solutions, making your DIY projects healthier and more efficient.

Ready for a dust-free carpet removal experience? Contact DustRam® today. Our professional services and advanced technology guarantee a clean, healthy environment during your flooring renovations. Let us help you take the first step towards a cleaner, safer home.

Don’t settle for a less-than-perfect carpet removal, contact DustRam® and get a free project quote today. We will do the job dust free, provide top-quality floor prep, and we will get it right the first time. For more related content about “how to remove carpet” and other flooring, make sure to visit our blog for the latest news and trends on flooring removal.

Share and Bookmark

LinkedIn
Facebook
Twitter
Pinterest
Tumblr

Leave a Reply

Your email address will not be published. Required fields are marked *