DIY: How to Remove Tile Floor
“Embrace change without fear. Our comprehensive guide will equip you with the knowledge to remove old tiles and pave the way for a fresh, new look.”
Would you like to learn how to remove tile floor? Tile flooring is a great way to make any room feel elevated and add luxury. But if you’re a homeowner, contractor, remodeler, or renovator who’s looking for the best state-of-the-art methods to remove your old tile floor before replacing it, then you need to look no further! In this article, we’ll cover everything from what tools are necessary for the job to safety precautions that should be taken when working with hazardous materials like mortar so that in the end you can achieve an efficient and cost-effective tile removal process. Follow along with DustRam® for the inside scoop!
When it comes to tile removal, having the right tools is crucial. As a general contractor in the flooring industry, a trowel, hammer, and chisel are absolute must-haves. These tools allow you to chip away at the tiles and gradually remove them, without damaging the subfloor underneath. Without a trowel, hammer, and chisel, you could end up with a messy and time-consuming job on your hands. So, before you get started on any tile removal project, make sure you have these essential tools on hand. It will make all the difference in the end result.
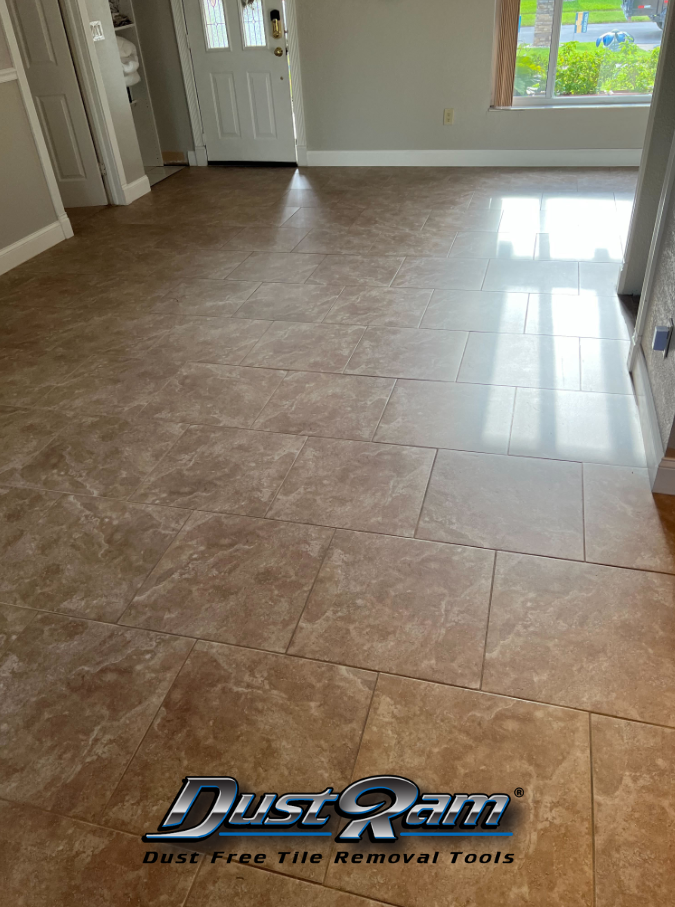
Gather the necessary tools for tile removal:
□ Hammer
□ Mask or respirator
□ Chisel
□ Gloves and safety goggles
□ Pry bar – scraper
□ Vacuum
□ A multi tool
□ Painter’s tape
□ Sponge
□ Towels
□ Water bucket and other cleaning supplies
Removing the Old Tile Floor: Step by Step
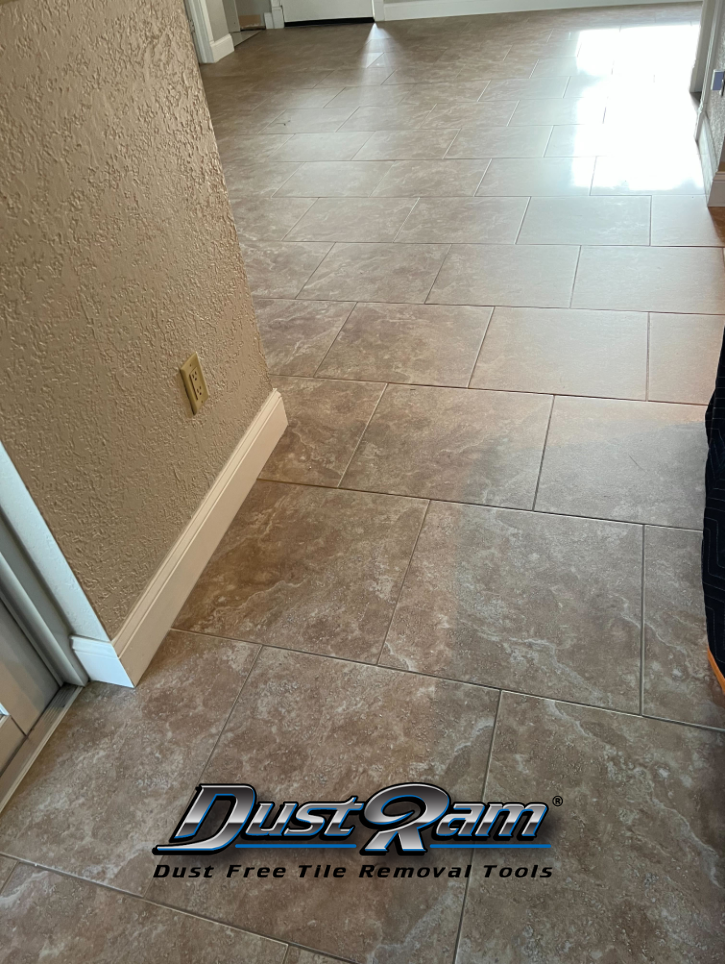
1. Preparation:
Begin by wearing your gloves and safety goggles. The removal process can send shards of tile and dust into the air, so it’s essential to protect your eyes and hands. Also, consider wearing a dust mask or a respirator to prevent inhalation of dust and debris. Before starting the tile removal, seal off the work area with plastic sheeting. This will help to prevent dust from spreading throughout your home. You can hang plastic sheets using painter’s tape.
2. Breaking the Tiles:
Start at a corner or edge of the room and use the hammer to break a tile. It’s best to aim for the center of the tile. This action will create a starting point, making it easier to insert the pry bar underneath the remaining tiles.
3. Prying up the Tiles:
Once you’ve broken a few tiles, insert the pry bar under the broken tile pieces. Using a little force, lever them up and off of the floor. Make sure to pry up both the tile and any adhesive that was used to attach it to the floor. Repeat this process to remove tile floor. For stubborn tiles, you may need to use the hammer and pry bar together to loosen them.
4. Removing Residue and Cleaning:
After all the tiles are removed, you’re likely to see leftover adhesive, thin set, grout, or even pieces of underlayment. Use the pry bar or a putty knife to carefully scrape this off. Be careful not to gouge the subfloor. Once you’ve removed the larger pieces, sweep or vacuum the area to remove any smaller debris. Dispose of the broken tiles and debris according to your local waste management regulations.
5. Prepare the Subfloor:
The subfloor must be in good condition, clean, dry, and smooth before you can install new flooring. Look for and repair any damage such as water damage or rot. If there are high spots, they may need to be ground down. Conversely, low spots may need to be filled with a leveling compound. Remember that an uneven subfloor can lead to an uneven tile installation or even broken or cracked tiles down the road. Additionally, ensure the subfloor is thoroughly cleaned – free from dust, debris, and adhesive residue – before proceeding with the new flooring installation. This preparation is crucial for ensuring the longevity of your new floor.
Pros and Cons of DIY Tile Floor Removal
"Dust-free isn't a scale, it's a standard. With DustRam®, we don't just reduce dust, we eliminate it. Anything less isn't truly dust-free."
Carlton Dickerson
Many homeowners eagerly opt for “how to remove floor tile” in order to save money. While this might seem like a good idea at first, there are definitely pros and cons to consider before tackling this project on your own.
Cons
Subfloor Damage:
When you don’t have experience with this line of work, you could end up damaging your subfloor and needing costly repairs later on. Laying a new floor on uneven concrete can cause leveling and other foundational issues in the future.
Time-Consuming:
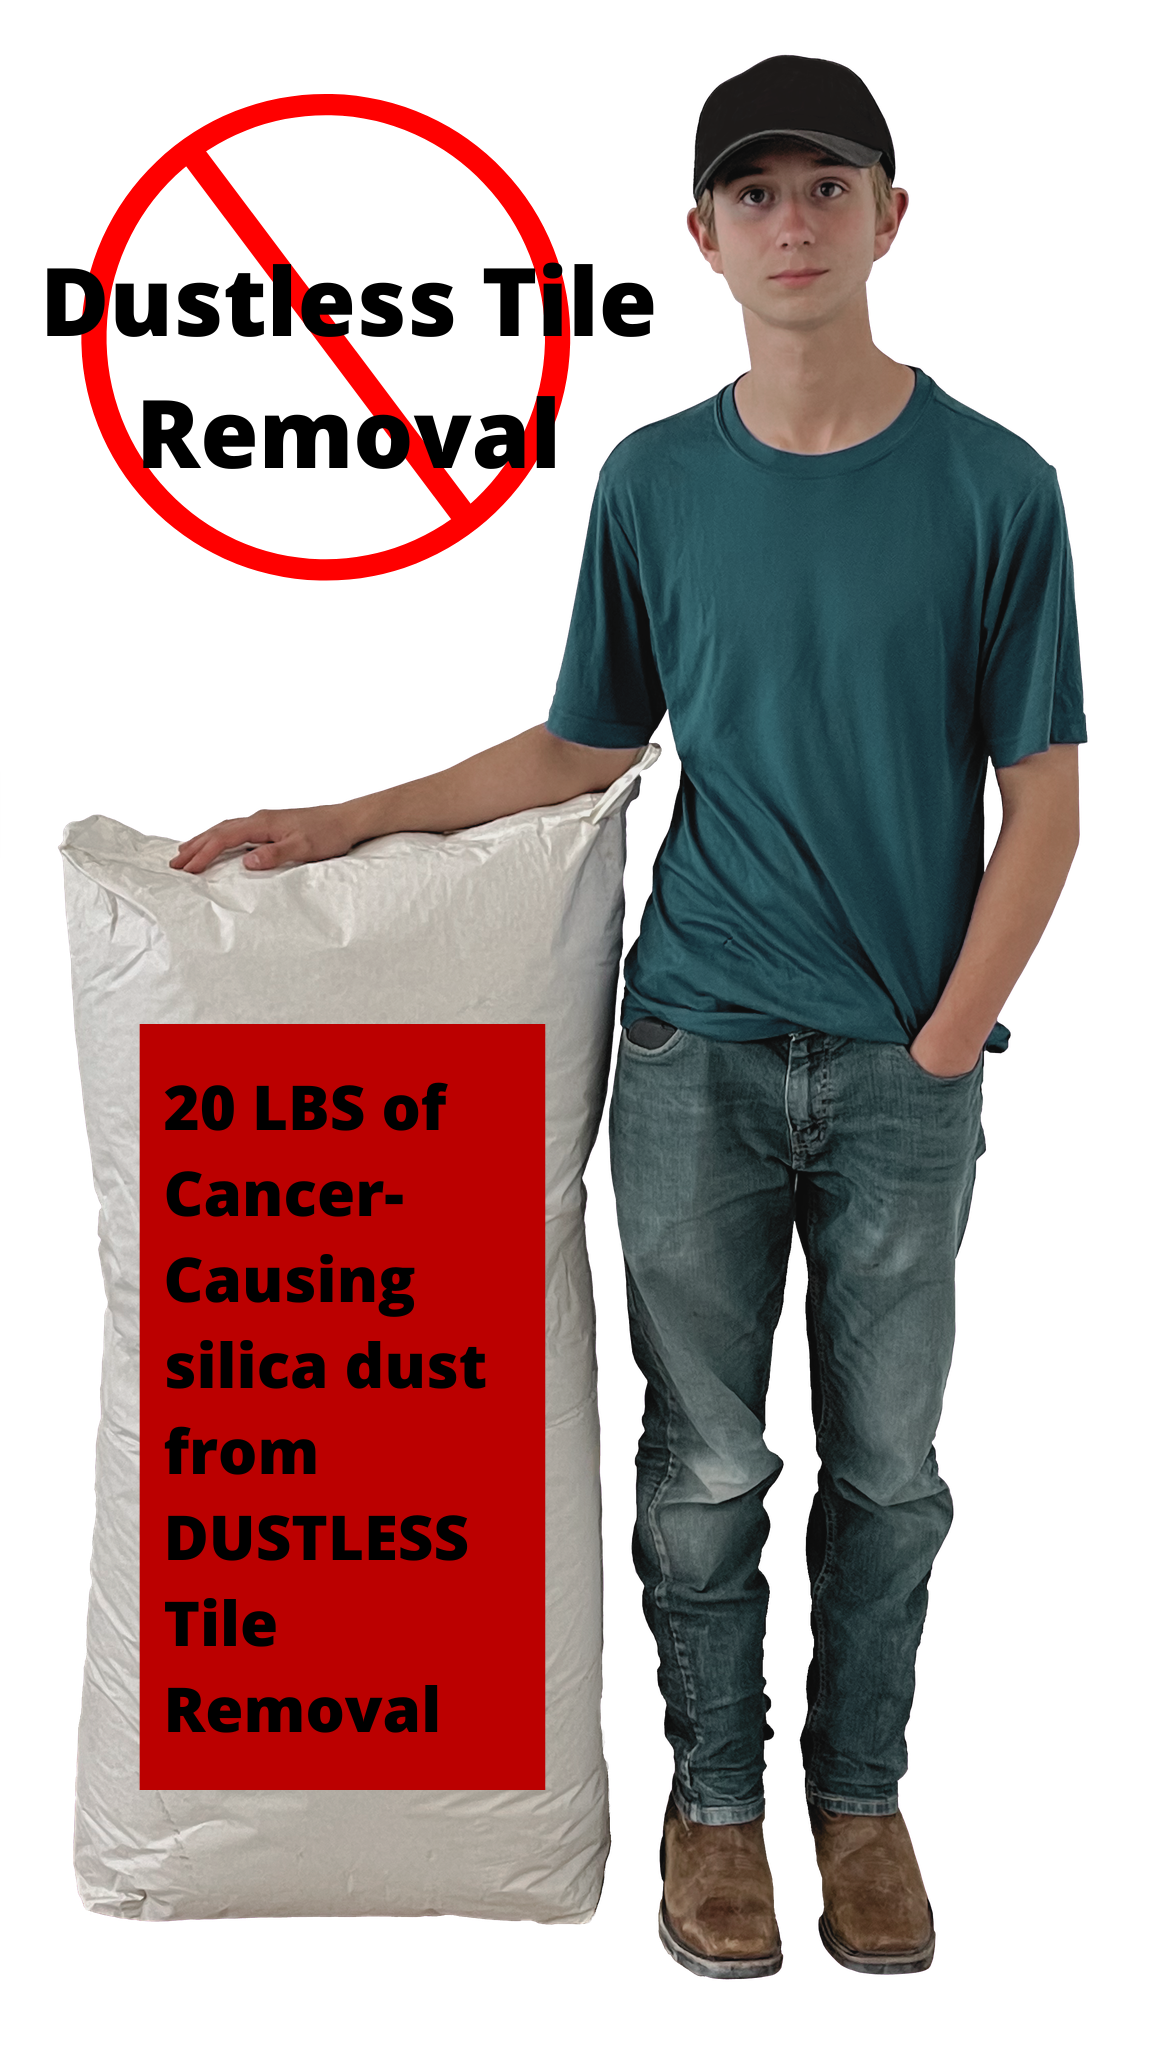
Removing tile flooring can be a time-consuming and messy task that requires extensive preparation and clean-up. On average one pound of dust is produced per removal of 1 square foot of tile. This means you may end up with hundreds of pounds of silica dust in your home.
Silica Exposure:
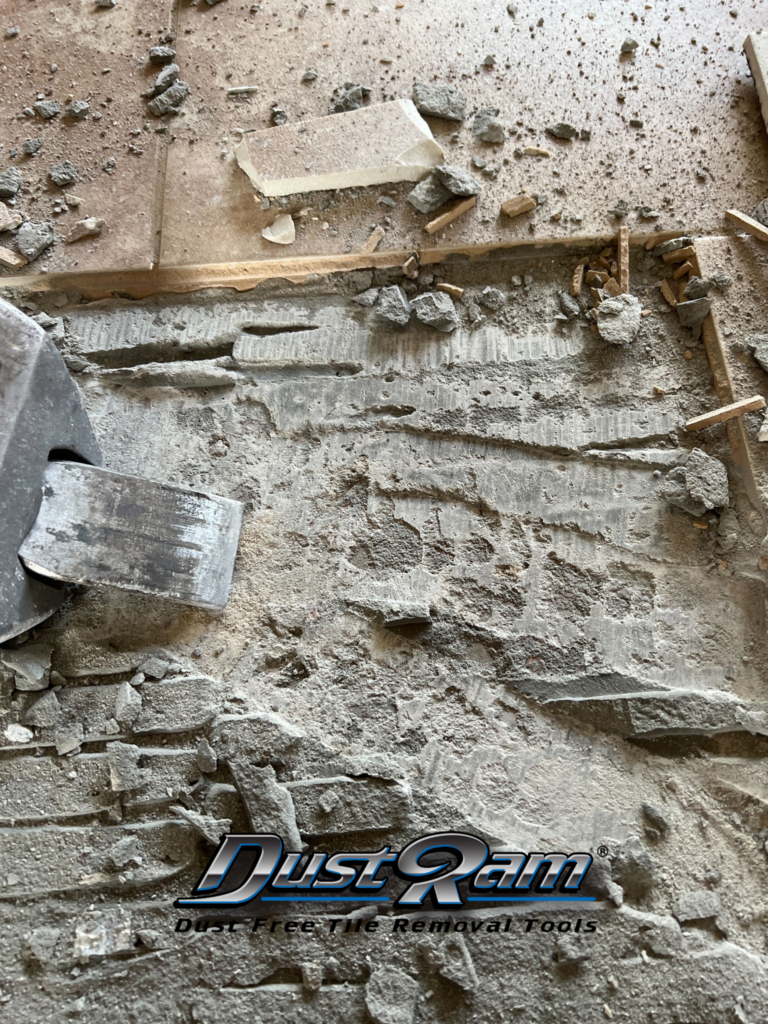
The most important disadvantage and the greatest one yet is the inevitable exposure to the cancer-causing silica dust that will engulf your home, and belongings, and end up in your lungs. See the video and image above***
Professional Cleanings:
With DIY comes dust exposure that will require professional cleaning sessions to remove the dust. Each cleaning typically ranges between $500 to $800 per session. With the large quantities of silica that your home will be exposed to, it will take months to years to remove the dust.
One key point to remember though is that not all of the dust will be possible to remove because of the nature and make up of the size of these particles. Each silica dust particle is one-hundred times smaller than 1 grain of beach sand. These microscopic particles are tough to get rid of completely.
Long-term Costs:
Between the potential for subfloor damage and revision work, health care costs from silica inhalation, and professional cleaning sessions, you are going to spend significant amounts of more money than you first anticipated. The long term costs for a DIY tile removal end up costing more than if you hired a dust free flooring removal provider.
Experience and Expertise:
What you don’t know will end up costing you! Tile removal professionals in the industry have decades of ongoing experience. Sometimes it’s worth paying a little more for quality than to DIY and risk potential damages, etc. DustRam® has a 26 times patented system of advanced technology that was invented specifically for tile removal and to capture the carcinogenic dust from a floor removal.
Pros
Save Money Up Front:
One of the advantages of DIY tile floor removal is that it can be a money-saving endeavor, especially if you are already handy with tools.
No Labor Costs:
You won’t have to pay for the labor costs associated with hiring a professional team. Plus, you’ll have the satisfaction of knowing you did it all yourself. On the other hand, removing tile floors can be a messy and time-consuming process.
Without the right tools and experience, it’s easy to damage your subfloor or end up with a less-than-perfect end result. That’s where products and technology like the DustRam® system can come in handy, making the process quicker, cleaner, and more efficient.
Ultimately, whether or not to take on a DIY tile floor removal project boils down to weighing the pros and cons and deciding what’s best for your particular situation. The decision to remove your own tile floors should be based on your personal skill level and timeline, as well as your willingness to take on the potential risks and challenges involved.
DustRam® Can Do the Flooring Removal Better, Faster, and Cleaner!
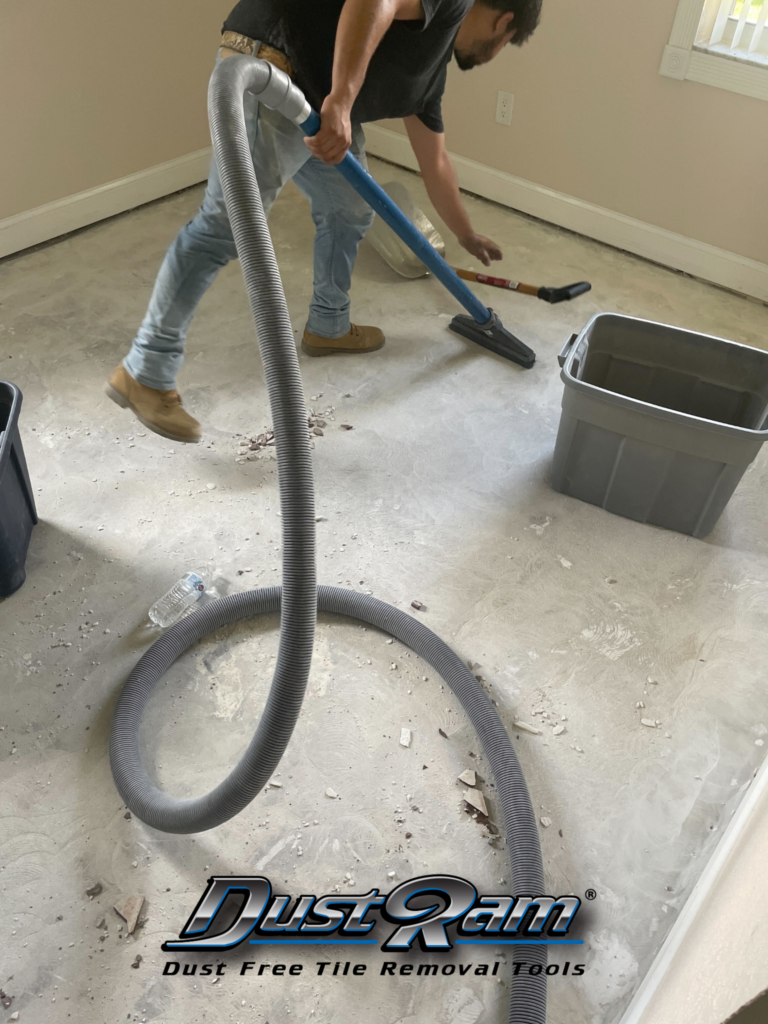
DustRam® is the only company to hire when you require a thorough and efficient dust-free tile removal job. But how do you know when it’s time to make the call? Here are a few factors to keep in mind.
Is Your Health a Priority?:
Have young children or family members with respiratory issues? The dust will affect their health. If your health and your family’s health are a priority, then without a doubt you should at least get a consult with DustRam®. The more information you have about the dangers of silica the better you will feel about your decision to hire an expert instead of DIY. Our consultations are free.
Air Quality:
Speedy Fast Services:
Another great outcome of hiring DustRam® is the incredibly fast turnaround time. Our process and technology along with our trained and DustRam® certified professionals, allow the job to get done three times as fast compared to DIY and contractors that perform outdated tile removals.
No Hidden Fees:
You will not incur any added-on or hidden fees. What you are quoted is what you will pay. We are a company that runs on integrity and we have your best interest in mind. DustRam® offers payment options with 12 months of interest-free payment through GreenSky with immediate
Quality Floor Prep:
Not only do we get the job done faster and cleaner, but we also leave your subfloor in the ideal condition making it easier for you to lay the new floor. With our 26 times patented system of tools and equipment, we grind the concrete down to the slab for a smoother flatter surface while also giving the concrete scarification for proper floor bond and adhesion.
Dangers of Silica Dust Exposure from Outdated Methods of Tile Removal
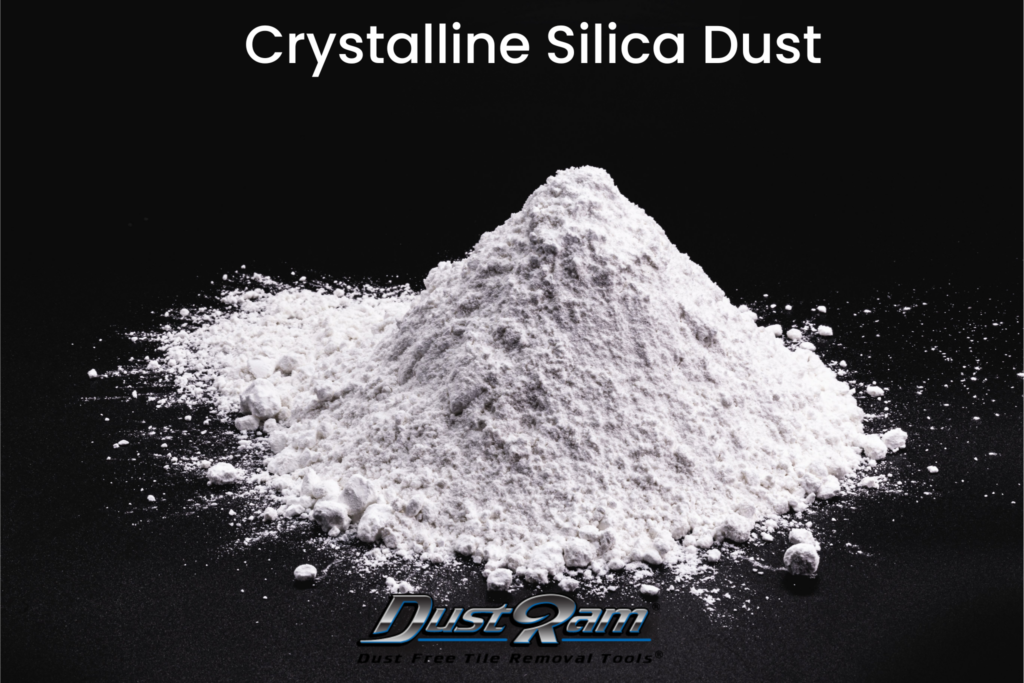
Silica dust exposure is a serious issue that affects homeowners, workers, and even their pets. This microscopic dust is created when materials like rock, concrete, and sand are cut, ground, or drilled, and it can have dire consequences. As the dust gets inhaled, it can cause debilitating lung diseases like silicosis, lung cancer, and chronic obstructive pulmonary disease (COPD).
It’s not just the workers in construction and industrial settings who are at risk, either – homeowners who attempt to do renovations or repairs with outdated methods and equipment, are putting themselves at risk.
The costs of exposure can quickly add up, too, with medical bills, treatments, and even the need to hire a professional cleaning company to remove the dust. Fortunately, the DustRam® system is a solution that can help prevent exposure to crystalline silica dust, allowing workers and homeowners alike to breathe safely and without worry.
Silica dust has been recognized by OSHA and NIOSH as a carcinogenic substance that should not be inhaled at such quantities. If you’re looking to avoid the hazardous effects of silica dust exposure and inhalation, along with the unwanted cleaning costs and improper floor prep, consider leaving the heavy work to DustRam® – your lungs (and your wallet) will thank you. DustRam® captures 99.995% of crystalline silica dust, no other contractor or company can do this.
Related Post: Is Dust Free the Same as Dustless Tile Removal? Which One Is Safer?
How to Choose the Right Tile Removal Company
Choosing the right tile floor removal company is a crucial decision that can significantly affect the outcome and cleanliness of your home or business during the removal process. Start by researching local companies, reading reviews, and assessing the services they offer. The company’s experience, reputation, and customer feedback are key factors that can provide insights into its reliability and proficiency.
1. Understand the Differences Between Traditional, Dustless, and Dust Free.
While cost is an important consideration, it should not be the sole determining factor. Instead, focus on the company’s safety protocols, especially regarding the containment and management of silica dust, a harmful byproduct of tile removal. Ask potential companies about their containment methods, equipment used, and how they ensure minimal dust exposure during the process.
It’s also important to understand that traditional contractors will release dust back into the home because they use outdated equipment and are performing an outdated tile removal method. Dustless on the other hand will capture some of the dust but not enough to be considered dust free. Dustless still releases and exposes you to silica. Dust Free on the other hand, can only be performed by DustRam®. Unless a contractor is DustRam® certified, they are not Dust Free.
2. Industry Experience – Its Better to Hire an Expert
Hiring an expert is important because it eradicates any rookie mistakes from happening. An expert has already made rookie mistakes in the past and found solutions to prevent and avoid such mistakes from happening.
With an expert contractor, you won’t risk damages or worse. A professional company, like DustRam®, will offer comprehensive services, experienced technicians, and safe containment methods that protect your family, pets, and property.
Remember, the cheapest option may not always be the safest or most thorough, so prioritize quality and safety over cost. Don’t hesitate to request a free project quote from potential companies, and ensure they’re transparent about what their service entails.
3. Appropriate Technology Made for Tile Removal
Tired of messy, dusty tile removal that leaves your home looking like a construction site? Enter DustRam®, the tile removal company that revolutionized the industry with patented technology that eliminates dust and protects your home and loved ones from any debris.
DustRam® is not just any tile removal company, but the inventor of the dust free removal process and technology. We are the only provider of dust-free tile removal in the world, and our approach to tile removal is truly unique. With DustRam®, you can rest easy knowing that your home and your health are in good hands.
Other contractors do not use equipment that is designed for tile removal. Ours was created with the sole purpose of capturing the dust at the source at the highest levels and we do this effectively and efficiently.
4. Proof of Dust Free and Air Quality Results
DustRam® Qualities
Now let’s talk about the amazing qualities of DustRam® and how they have paved the way and set the tone for what a truly dust free tile removal should be. Not only are they the only providers of dust-free tile removal, but they also go above and beyond in their customer service.
Unlike traditional and dustless tile removal companies that use outdated methods that leave your home exposed to silica, DustRam®s technology is unique and in a league of its own, ensuring that no dust, debris, or mess is left behind. Their trained technicians work diligently to protect your home during the tile removal process, and the result is a picture-perfect finish that you can enjoy immediately.
Plus, they offer a free consultation and will even provide several demonstrations of their patented technology with plenty of before and afters on the website. With DustRam®, your tile removal experience will be stress-free, and your home will be left cleaner than it was before. Say goodbye to the mess and hello to the marvel that is DustRam®.

